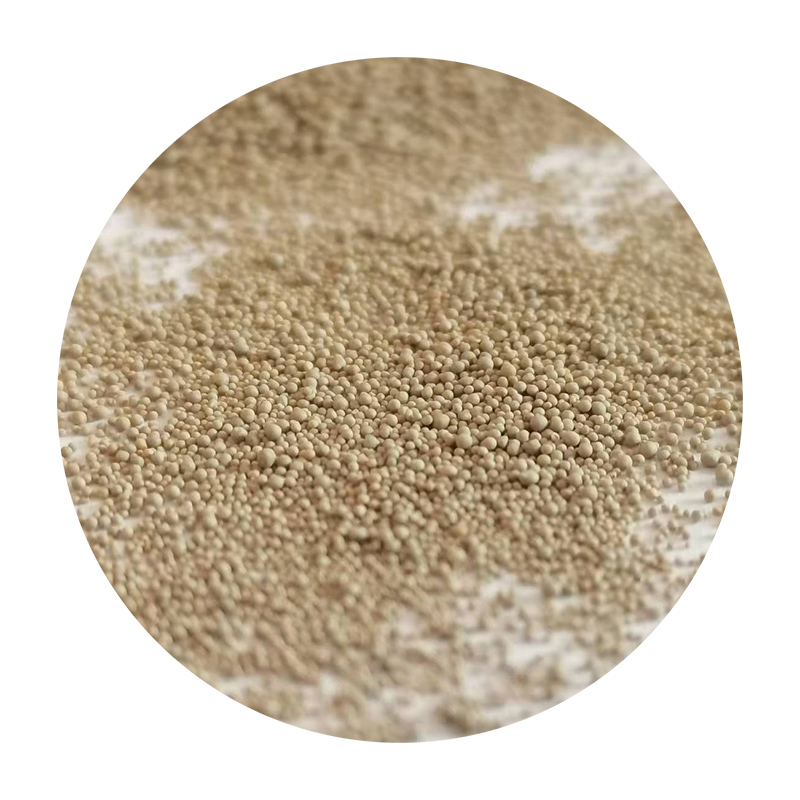
The Art of Sanding Cast Iron Techniques and Best Practices
Cast iron has been a favored material for centuries, celebrated for its durability, excellent heat retention, and wonderful cooking properties. However, achieving a smooth finish on cast iron, especially after manufacturing or restoration, requires careful sanding. This article delves into the techniques and best practices for sanding cast iron effectively, ensuring not only a sleek surface but also an optimal performance in its intended use.
Understanding Cast Iron
Cast iron is an iron-carbon alloy that includes carbon content greater than 2%. Its unique properties make it ideal for various applications, from cookware to architectural details. While its surface is inherently rough due to the casting process, smooth finishes are often desired for aesthetic reasons or to enhance performance. Sanding cast iron can also remove rust, old paint, or damaged surfaces, preparing the piece for further treatment, such as seasoning in cooking applications.
Selecting the Right Tools
To begin the sanding process, it is essential to select the appropriate tools. For most cast iron projects, sandpaper and sanding blocks will be your primary tools. Start with a coarse grit, such as 80 or 120, to tackle significant imperfections. As you progress, move to finer grits, like 240 and 320, to achieve a smooth finish. Additionally, consider using a sanding sponge or foam block for irregular surfaces, ensuring that all contours are evenly treated.
For more extensive projects, power sanders can be employed. However, caution is advised; excessive power can quickly damage the surface. A palm sander with an appropriate grit paper can be useful, but it requires a steady hand and a light touch to avoid creating divots.
The Sanding Process
1. Preparation Before sanding, clean the cast iron piece thoroughly to remove any loose debris, grease, or rust. A wire brush or chemical rust remover can help to prepare the surface for sanding.
cast iron sanding

2. Initial Sanding Using coarse sandpaper, start sanding the surface, focusing on any imperfections or rough spots. Use even strokes and avoid pressing too hard, as this can create uneven surfaces. Always sand in the same direction to maintain uniformity.
3. Progression to Finer Grits After addressing rough areas, gradually transition to finer grits. This step is crucial for achieving a smooth finish. At each stage, check your work to assess the surface’s progress. Ensure that all previous sanding marks are removed before moving to the next grit.
4. Details and Contours For detailed or intricate areas, use smaller pieces of sandpaper or sanding sponges to reach all nooks and crannies. This attention to detail will yield a uniformly smooth surface.
5. Final Touches After the final sanding, wipe down the cast iron with a damp cloth to remove any dust and particles. It’s often beneficial to apply a light coat of oil after sanding; this step not only protects the surface but also enhances its aesthetic appeal.
Safety Considerations
When sanding cast iron, proper safety measures are paramount. Always wear a dust mask to avoid inhaling fine particles, and consider using safety goggles to protect your eyes from flying debris. Additionally, ensure that you have adequate ventilation, especially when using power tools.
Conclusion
Sanding cast iron is an art that requires patience and precision. By understanding the material and employing the right techniques, you can transform a rough cast iron surface into a smooth, polished finish. Whether for functional cookware or aesthetic projects, effective sanding enhances both the appearance and performance of your cast iron items, ensuring they continue to serve their purpose for years to come.
Post time:Aug . 12, 2024 12:42
Next:Understanding the Sand Casting Metal Process for Efficient and Effective Manufacturing Techniques
