
How to Sand Ceramic A Step-by-Step Guide
Sanding ceramic is a delicate process that requires careful attention to detail, as ceramics can be fragile and easily damaged. Whether you're looking to smooth out a rough edge, restore a chipped piece, or prepare a surface for painting or glazing, the right technique is essential. This guide will walk you through the steps to effectively and safely sand ceramic items.
Materials Needed
1. Ceramic Item The piece you wish to sand. 2. Sandpaper Choose a range of grits, from coarse (around 60-100 grit) to fine (up to 400 grit or higher). 3. Sanding Block This can help distribute pressure evenly. 4. Water For wet sanding, which reduces dust and helps achieve a smoother finish. 5. Soft Cloth To wipe down the ceramic after sanding. 6. Protective Gear Dust mask and safety glasses to protect yourself from dust and small particles.
Step 1 Assess the Ceramic Piece
Before you begin sanding, carefully examine the ceramic piece. Look for areas that are uneven, chipped, or require refinement. Identifying problem areas helps you focus your efforts where they are needed most.
Step 2 Choose the Right Sandpaper
Start with coarse sandpaper (60-100 grit) for areas that need substantial smoothing. For minor imperfections or to prepare a surface for painting, you might want to start with finer grit sandpaper (220 grit or finer).
Step 3 Prepare Your Workspace
Set up a clean, well-lit workspace. Lay down some newspaper or a drop cloth to catch dust and debris. If you're using wet sanding methods, consider working over a sink or an area where water won't cause damage.
Step 4 Begin Sanding
- Dry Sanding If using dry sandpaper, start by gently rubbing the sandpaper against the ceramic surface in a circular motion. Avoid applying too much pressure, as ceramics can crack or chip if forced. - Wet Sanding If opting for wet sanding, dip the sandpaper in water before using it. Keep the surface of the ceramic and the sandpaper wet throughout the process. This technique minimizes dust and helps achieve a finer finish.
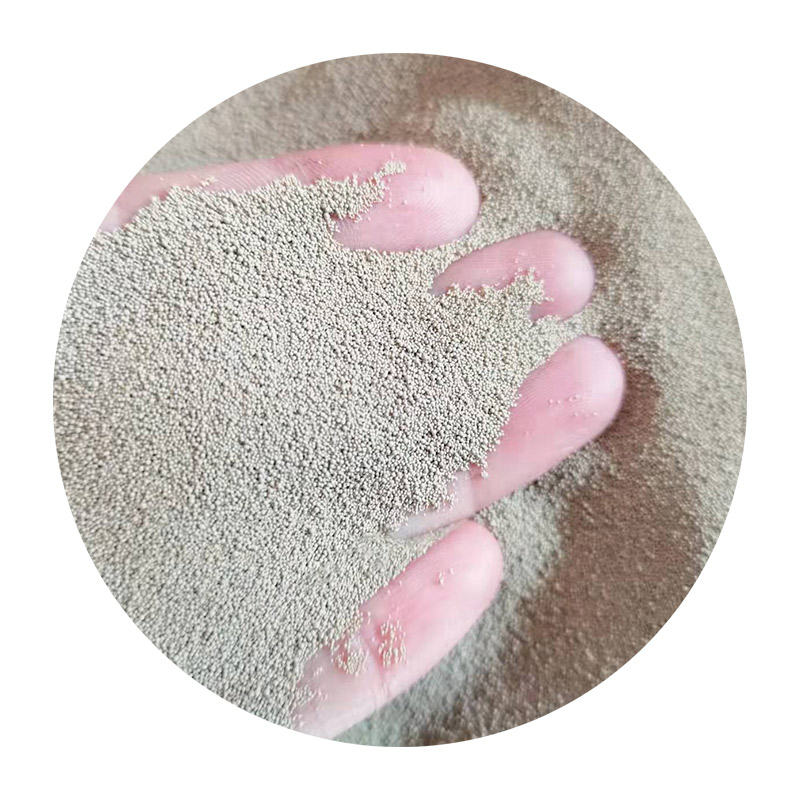
how to sand ceramic
Step 5 Check Your Progress
Regularly stop to wipe off any dust or debris using a soft cloth. Examine the surface to ensure that you are achieving the desired smoothness. If any areas remain rough, continue sanding gradually until they feel even.
Step 6 Move to Finer Grits
Once you have smoothed out any rough spots with coarse sandpaper, switch to finer grits to refine the surface further. This step is crucial if you plan to paint or glaze the ceramic item, as a smooth surface will lead to better adhesion and finish.
Step 7 Clean the Surface
After sanding, wipe down the piece to remove any dust or debris. If you've been wet sanding, allow the ceramic to dry completely. This step is vital, especially if you're planning to apply paint or glaze afterward.
Step 8 Finish
Upon completing the sanding process, inspect your work one final time. If necessary, you can polish the surface using a fine polishing compound to give it a shiny finish.
Additional Tips
- Always wear a dust mask and safety glasses to protect yourself from dust particles. - Work slowly and patiently; rushing can lead to mistakes and damage. - If you are working on an intricate piece, use smaller pieces of sandpaper to get into tight areas.
Sanding ceramic can transform your items, giving them a new lease on life or preparing them for a fresh coat of paint or glaze. By following these steps and exercising care throughout the process, you will achieve professional-looking results. Happy sanding!
Post time:Dec . 05, 2024 03:41
Next:Understanding the Metal Sand Casting Process and Its Applications in Manufacturing