How to Sand Cast A Beginner's Guide
Sand casting is one of the oldest metal casting techniques, where sand is used as a mold to create metal objects. It is an accessible and relatively simple method, making it popular among hobbyists and artisans. This guide will walk you through the essential steps of sand casting, helping you understand the process and how to achieve high-quality casts.
Understanding the Basics of Sand Casting
Before diving into the process, it’s important to grasp the fundamental components of sand casting. The main materials include
1. Casting Sand Typically a mixture of silica sand, clay, and water, this sand is designed to hold its shape and withstand the heat of molten metal. 2. Pattern The pattern is a replica of the final product, usually made of wood, metal, or plastic. It is placed in the sand to create a cavity for the molten metal. 3. Mold Box This is the container that holds the sand while the mold is created around the pattern.
Step-by-Step Process of Sand Casting
1. Prepare the Pattern First, create or acquire a pattern of the object you wish to cast. Ensure it has draft angles to ease removal from the sand. The pattern's surface should be smooth to minimize imperfections in the final casting.
2. Create the Mold - Prepare the Mold Box Place the pattern in the mold box and pour sand around it. - Pack the Sand Use your hands or a mold compactor to pack the sand tightly around the pattern. - Remove the Pattern Once the sand is packed and firm, carefully extract the pattern, leaving a hollow cavity in the sand.
how to sand cast

3. Add Vent and Pouring System Incorporate a sprue (an inlet for the molten metal) and risers (for gas escape) into the mold. This step ensures that the molten metal can flow into the cavity effectively without trapping air.
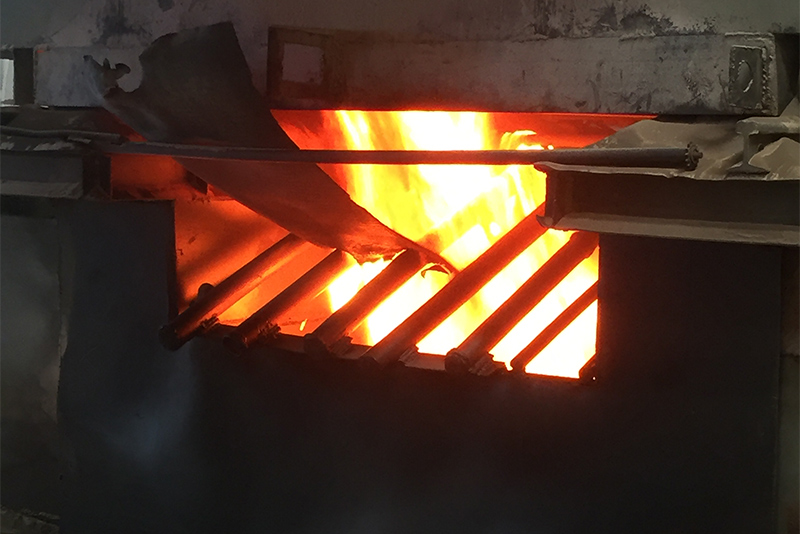
4. Prepare the Metal Choose the appropriate metal for casting—common options include aluminum, bronze, and iron. Melt the metal in a crucible using a furnace, gas torch, or induction heater until it reaches the required temperature.
5. Pour the Metal Carefully pour the molten metal into the sprue of the mold. It’s essential to pour steadily to avoid agitating the sand, which may cause defects in the cast.
6. Allow to Cool Let the metal cool and solidify within the mold. Cooling times will vary based on the metal and the thickness of the casting piece.
7. Break Out the Casting After cooling, gently break apart the sand mold to reveal the casting. This step requires care to avoid damaging the newly formed object.
8. Finishing Touches Finally, clean up the casting by removing any sand residues and sprues. You may also need to file or grind the surface to achieve a smooth finish.
Conclusion
Sand casting is a versatile and cost-effective method for producing metal objects, from intricate designs to large components. By following these steps and understanding the materials involved, anyone can embark on their sand casting journey. Remember that practice is key; each casting will teach you more about the process and improve your skill. Whether you're creating decorative items, prototypes, or functional parts, sand casting offers a rewarding experience that connects you to the time-honored craft of metalworking. Happy casting!
Post time:Jul . 26, 2024 23:37
Next:Exploring Innovative Applications of 3D Printing with Sand for Creative Manufacturing Solutions
