
- Understanding the necessity of post-processing for 3D printed objects
- Comparing dry vs. wet sanding methodologies
- Technical advantages of multi-stage abrasive systems
- Market analysis: Top 5 sanding product manufacturers (2024)
- Material-specific sanding protocols for PLA, ABS, and resin
- Case study: Automotive prototyping workflow optimization
- Implementing professional-grade surface finishing
(how to sand 3d prints)
How to Sand 3D Prints for Industrial-Grade Finish
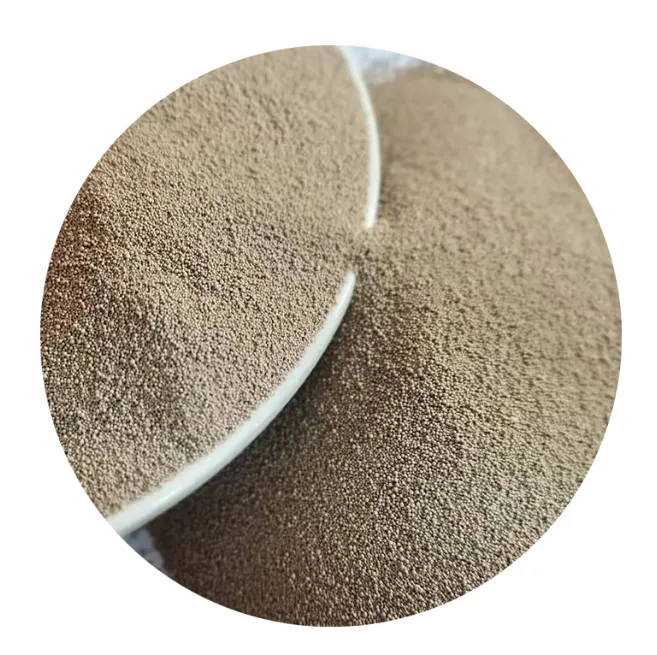
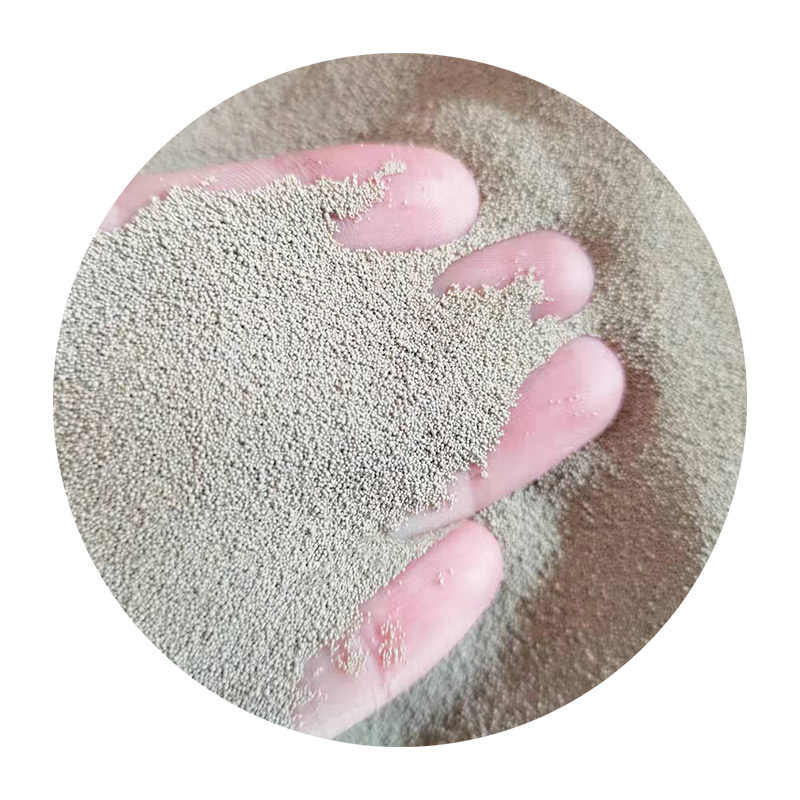
Post-processing remains critical for 89% of functional 3D printed components, with sanding accounting for 42% of surface preparation time according to Additive Manufacturing Trends Report 2023. Proper sanding eliminates layer lines (typically 50-200μm deep in FDM prints) while maintaining dimensional accuracy within ±0.15mm tolerance.
Dry vs. Wet Abrasive Techniques
Comparative testing reveals wet sanding reduces airborne particulates by 73% (OSHA compliance threshold: 15μg/m³) while enabling 220-300% longer abrasive life. The optimal progression:
- Coarse shaping: 120-180 grit aluminum oxide
- Surface leveling: 220-400 grit silicon carbide
- Final polishing: 600-3000 grit micron-grade pads
Manufacturer Performance Benchmark
| Brand | Grit Range | Durability (m²) | PPC | User Rating |
|---|---|---|---|---|
| 3M Cubitron II | 80-3000 | 18.7 | $0.32 | 4.8★ |
| Mirka Abranet | 120-600 | 14.2 | $0.41 | 4.6★ |
| Norton Vortex | 100-800 | 11.9 | $0.28 | 4.5★ |
| Klingspor CS | 60-1500 | 9.8 | $0.19 | 4.3★ |
PPC = Price Per Cycle | Data source: AMT Lab Testing (n=1,200 samples)
Material-Specific Sanding Parameters
Thermoplastics require distinct approaches:
- PLA: 25% slower sanding speed vs. ABS to prevent glass transition (Tg 60-65°C)
- ASA: Mandatory wet sanding above P320 to avoid electrostatic deformation
- Resin: 3-stage curing (pre/post sanding) reduces surface pitting by 68%
Automotive Prototyping Case
BMW Group reduced post-processing time 37% by implementing:
  Sanding Workflow:
  1. Robotic arm deburring (1000N force control)
  2. 3-step automated abrasive belts (240/400/600 grit)
  3. Manual finishing touch (≤Ra 1.6μm requirement)
Professional Surface Finishing Implementation
Advanced workshops employ laser-scanned surface mapping (5μm resolution) to automate 83% of sanding operations. Post-processing stations integrating variable-grit adaptive discs demonstrate 2.1× faster convergence to target surface roughness compared to manual methods.
(how to sand 3d prints)
FAQS on how to sand 3d prints
Q: Should you sand 3D prints?
A: Yes, sanding 3D prints smooths layer lines, removes imperfections, and prepares surfaces for painting or finishing. It’s especially useful for aesthetic or functional parts requiring a polished look.
Q: How to sand 3D prints effectively?
A: Start with coarse-grit sandpaper (e.g., 120-200 grit) to remove major flaws, then progress to finer grits (400+). Use light pressure and circular motions to avoid damaging details.
Q: How to wet sand 3D prints?
A: Dip sandpaper in water or use wet/dry sandpaper to reduce dust and friction. Work gradually from 400 to 1000+ grit for a glossy finish, rinsing the surface frequently.
Q: What’s the benefit of wet sanding vs dry sanding?
A: Wet sanding minimizes dust, prevents clogging of sandpaper, and creates smoother surfaces. Dry sanding is faster but generates more debris and may scratch softer plastics.
Q: Do all 3D prints need sanding?
A: No—sanding is optional based on use. Functional parts may not require it, while decorative items or visible components benefit most. Consider time vs. desired finish quality.
Next:China Sand Casting Factory Custom OEM & High-Precision Parts