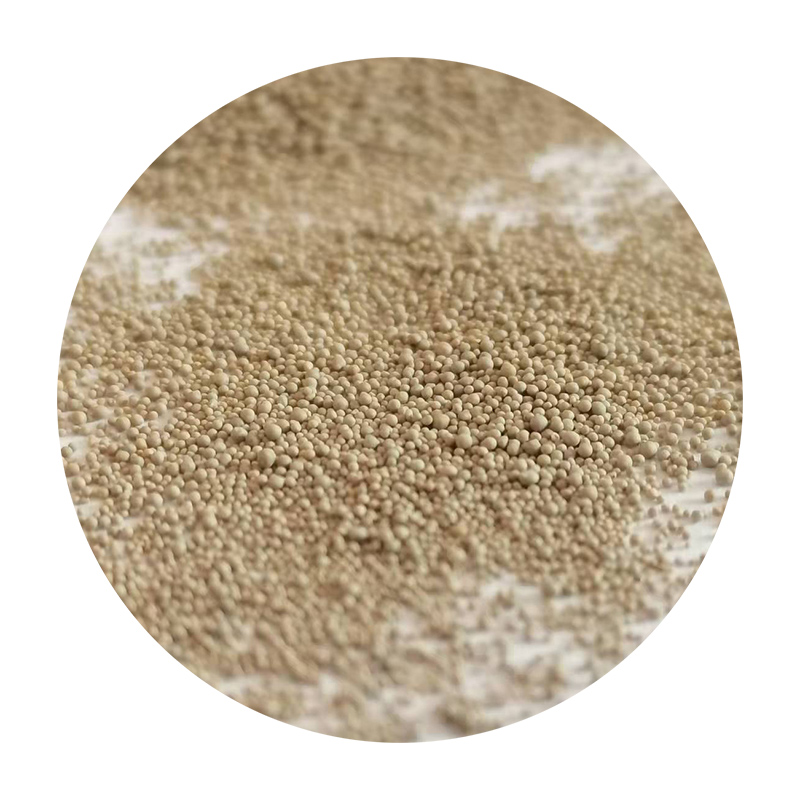
Sanding Glazed Ceramics A Comprehensive Guide
Glazed ceramics are an art form that has captivated creators and consumers alike for centuries. The glossy finish of glazed pottery not only enhances its aesthetic appeal but also protects it from damage and wear. However, with time, these surfaces can accumulate scratches, chips, and imperfections, leading many artisans to consider the technique of sanding. This article aims to provide an in-depth look at the process of sanding glazed ceramics, discussing the necessary tools, methods, and best practices.
Understanding Glazed Ceramics
Before delving into the sanding process, it's crucial to understand what glazed ceramics are. The glaze is essentially a glass-like coating that is applied to ceramic pottery, fired at high temperatures to create a solid surface. This coating provides a protective layer, making the pottery waterproof and more durable. However, while a glaze can enhance a piece’s beauty, it can also become damaged over time, necessitating repair through sanding.
Why Sand Glazed Ceramics?
Sanding glazed ceramics serves multiple purposes. The primary reason is to smooth out surface imperfections, such as scratches or rough patches. Additionally, sanding can help prepare a surface for repainting or for applying a new glaze. Artisans may also use sanding techniques to create desired textures, allowing for unique finishes that elevate the overall design.
Tools for Sanding
Successful sanding requires the right tools. Here’s a list of essential items
1. Sandpaper Choose various grits, from coarse (around 60-80) for heavy damage to finer grits (up to 400 or more) for a smooth finish. 2. Sanding Sponge These are especially useful for curved or uneven surfaces, allowing for better control. 3. Water Source Wet sanding can help reduce dust and prevent overheating, especially on finer grits. 4. Safety Gear Always wear a dust mask and goggles to protect yourself from particles that may become airborne.
sanding glazed ceramics

The Sanding Process
1. Preparation - Begin by cleaning the ceramic piece thoroughly to remove any dirt or grease. Use a gentle detergent and rinse well. - Inspect the surface for any cracks or significant damage. If the piece is heavily cracked, sanding might not be sufficient, and repair may be necessary before proceeding.
2. Start with Coarse Grit - Using coarse sandpaper, gently sand the damaged area in a circular motion. Avoid pressing too hard, as this can lead to uneven surfaces. Keep your movements steady and light.
3. Transition to Fine Grit - Once most of the imperfections are removed, transition to a finer grit sandpaper. This step is crucial for achieving a smooth and polished surface. Sand lightly and uniformly, ensuring that you are blending the sanded area with the remaining glazed surface.
4. Wet Sanding - For the final touches, consider wet sanding using fine-grit paper. Wet the surface lightly with a spritz of water and sand gently. This technique minimizes dust and helps achieve a glass-like finish.
5. Cleaning and Inspection - After sanding, wipe the surface with a damp cloth to remove any residue. Inspect the work to ensure that the surface is even and smooth. Touch up any areas as necessary.
Final Thoughts
Sanding glazed ceramics can breathe new life into tired, worn-out pieces, allowing them to be enjoyed for years to come. Whether you are a seasoned artist or a novice crafter, this technique can enhance your skill set and deepen your appreciation for the art of ceramics. Always exercise patience and care during the sanding process, as rushed work can result in uneven surfaces or further damage. With practice and attention to detail, you can master the art of sanding glazed ceramics, transforming your creations into exquisite pieces ready for display or use.
In conclusion, sanding is not merely a repair technique; it is an essential process that contributes to the longevity and beauty of glazed ceramics. By mastering this skill, artisans can ensure that their work remains a cherished part of the artistic legacy, continuously evolving while honoring tradition.
Post time:دېكابىر . 11, 2024 08:02
Next:रेती कास्टिंग में उपयोग में रेती के प्रकार।
