
4. Finish with High Grits As you approach the final grits (800-1200), your sanding should produce a smooth and even glossy surface. Remember, patience is a virtue. Rushing through the process might leave scratches or an uneven texture. Tool Recommendations An essential part of sanding resin is selecting the right tools. Manual sanding with sandpaper is feasible for smaller projects, but using an orbital sander or a mechanized sanding tool can vastly increase efficiency and consistency for larger pieces. If you're serious about your resin crafting, investing in high-quality, durable tools will pay off in the long run. Dealing with Resin Dust Even with wet sanding, some dust will still manage to escape. Resin dust can be hazardous if inhaled, so wearing a mask and eye protection is prudent. Ensure you work in a well-ventilated area or use a dust collection system to minimize exposure. Polishing for the Perfect Finish Once satisfied with the sanding, the next step is to polish. Use a buffing wheel or a polishing compound designed for resin to achieve a mirror-like shine. Polishing further smooths out microscopic scratches and enhances the resin’s natural luster. Conclusion Sanding resin is a meticulous process, but mastering it unlocks the full potential of your artistic capabilities. With the right techniques, tools, and a bit of patience, your finished resin pieces will not only look professional but will also stand the test of time. Trust this comprehensive guide to refine your resin crafting skills and elevate your artistry to new heights. In the realm of resin crafting, expertise is gained through careful practice and attention to detail, ensuring every piece not only meets but surpasses the creator’s vision. Post time:فېۋرال . 18, 2025 04:02
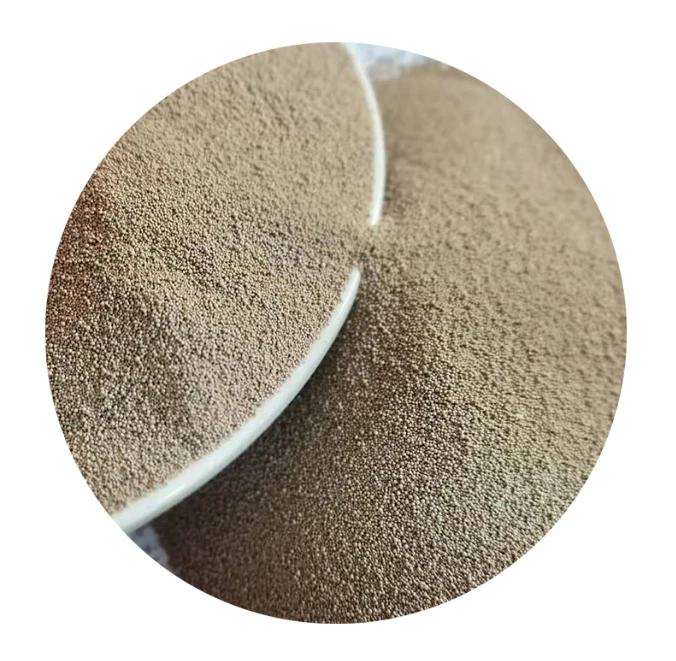
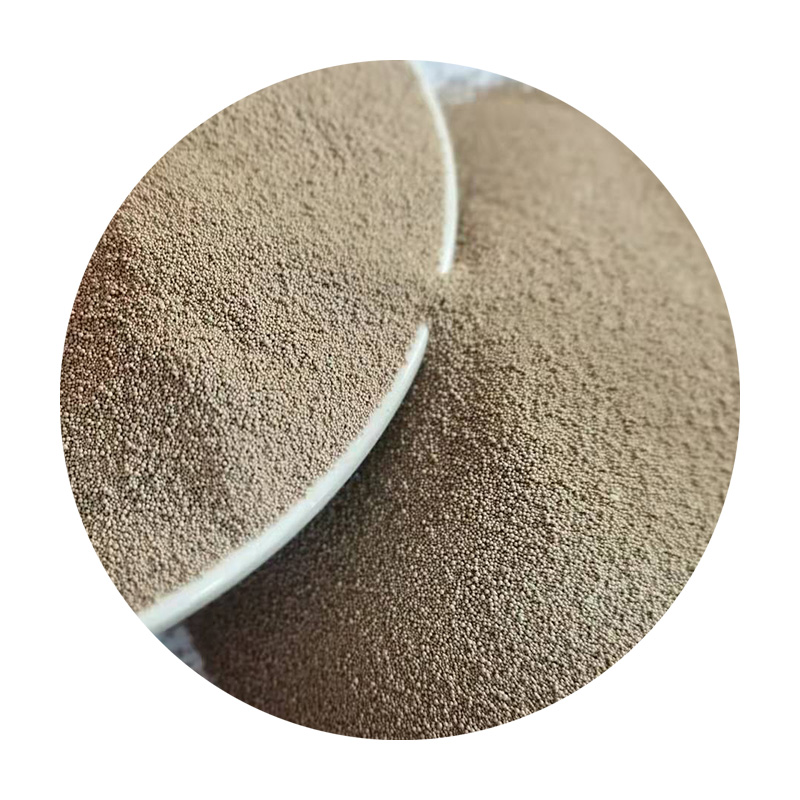
Next:resin and sand mix