Steps of Sand Casting
Sand casting is one of the oldest and most widely used methods for metal casting. This process involves creating a mold from sand and then pouring molten metal into that mold to create a desired shape. The simplicity and versatility of sand casting make it suitable for a variety of applications, from small-scale artistic endeavors to large industrial components. Understanding the steps involved in sand casting is essential for anyone interested in metalworking or manufacturing processes.
Step 1 Pattern Making
The first step in sand casting is the creation of a pattern. A pattern is a replica of the object to be cast and can be made from various materials, including wood, metal, or plastic. The choice of material often depends on the size and complexity of the object being produced. The pattern is typically slightly larger than the final product to account for shrinkage that occurs when the metal cools. Patterns can also have core prints, which help support any cores used to create internal cavities in the final product.
Step 2 Preparing the Mold
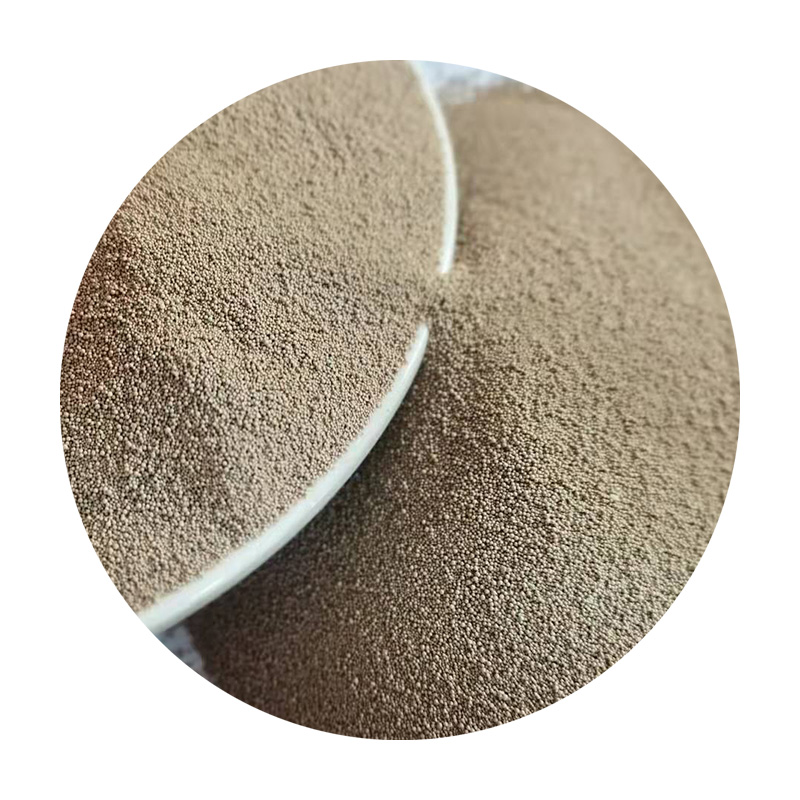
Once the pattern is complete, the next step is to prepare the sand mold. This involves mixing sand with a bonding agent, typically clay and water, to create a moldable mixture. The sand is compacted around the pattern to form the mold, often done in two halves the cope (top half) and the drag (bottom half). After the sand has been packed around the pattern, the two halves of the mold are separated, and the pattern is removed, leaving a cavity in the shape of the desired object.
Step 3 Adding Cores
If the final casting needs internal features, cores are created. These are separate pieces made from sand that are placed in the mold before pouring in the molten metal. Cores can be made using the same sand mixture as the mold or using a more rigid material. Their purpose is to form internal cavities or hollow sections within the casting, which are often needed for functional parts.
Step 4 Pouring the Molten Metal
steps of sand casting

With the mold and cores ready, it is time to pour the molten metal. The metal is heated to its melting point and then poured into the mold cavity. Control over the pouring process is crucial to avoid defects such as air pockets or incomplete fills. The temperature of the molten metal and the speed at which it is poured can significantly influence the quality of the casting.
Step 5 Cooling and Solidification
After the molten metal has been poured into the mold, it is left to cool and solidify. The cooling time can vary depending on the size of the casting and the type of metal used. Once the metal has cooled, it will solidify within the mold, taking on its shape. This stage requires careful timing, as premature removal from the mold can lead to deformation or defects in the casting.
Step 6 Removing the Casting
After the cooling period, the next step is to remove the casting from the mold. This is often done by breaking apart the sand mold. Since sand molds are not reusable, they are typically discarded after one use. The casting is then cleaned of any remaining sand and debris, often using a rubber blaster or other cleaning methods.
Step 7 Finishing Operations
Once the casting is free of sand, various finishing operations may be required to achieve the desired surface finish and dimensions. These can include machining, grinding, or polishing to remove any excess material or imperfections. Inspection is also performed to ensure that the casting meets the required specifications and quality standards.
Conclusion
Sand casting is a versatile and dynamic process that serves a multitude of purposes in manufacturing. By understanding each step, from pattern making to finishing operations, one can appreciate the intricacies involved in producing high-quality metal castings. Whether in artistic applications or industrial production, the foundation provided by sand casting remains a crucial aspect of metallurgical practices.
Post time:Nov . 08, 2024 21:38
Next:using sand in resin
