
How to Cast Sand in Resin A Step-by-Step Guide
Casting sand in resin is a creative and enjoyable way to preserve memories from the beach, create unique art pieces, or even craft functional items like coasters and trays. This process involves embedding sand in clear epoxy resin, resulting in a stunning and durable finish. Here is a detailed guide to help you successfully cast sand in resin.
Materials Needed
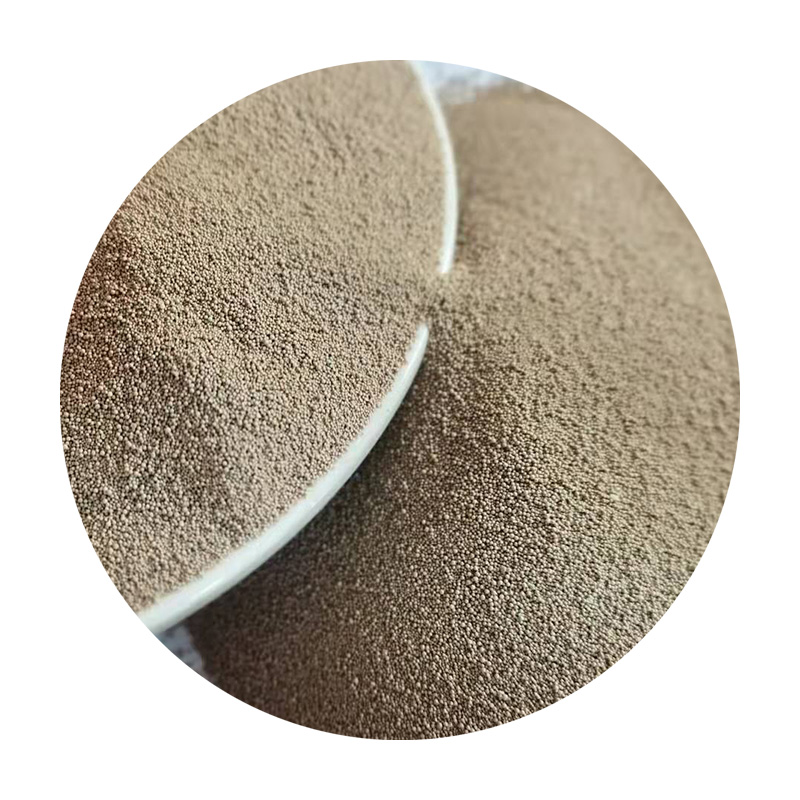
1. Epoxy Resin Choose a high-quality clear epoxy resin designed for casting. 2. Sand Beach sand or colored craft sand can be used depending on your project. 3. Mixing Cups and Stir Sticks Plastic cups and wooden sticks for mixing the resin. 4. Mold Silicone molds work best for resin casting. Ensure they are clean and free from dust. 5. Gloves Protect your hands by wearing gloves during the mixing and pouring process. 6. Masking Tape To seal the bottom of the mold if you’re using a non-silicone one. 7. Heat Gun or Torch To eliminate any bubbles in the resin after pouring. 8. Color Pigments (Optional) You can add pigments to the resin for a colored effect.
Step-by-Step Instructions
1. Prepare Your Workspace Gather all your materials and set up in a well-ventilated area. Lay down plastic or newspaper to catch any spills.
2. Measure the Resin Follow the manufacturer's instructions for mixing the resin. Typically, you will need a specific ratio of resin to hardener. Measure equal parts in your mixing cups.
3. Mix the Resin Combine the resin and hardener in one of the cups. Stir the mixture slowly for a few minutes until it is fully blended. Make sure to scrape the sides and bottom of the cup to ensure an even mixture. You might notice some bubbles—don’t worry, they’ll be addressed later.
4. Add Sand Once your resin is fully mixed, gradually add the sand. The amount of sand can vary based on your preference; usually, a one-to-one ratio of resin to sand works well. Stir until the sand is evenly distributed in the resin.
how to cast sand in resin
5. Prepare the Mold If you're using a non-silicone mold, seal the bottom with masking tape to prevent leaks. For silicone molds, there's no need for this step, but it's important to ensure they are clean.
6. Pour the Mixture Carefully pour the resin and sand mixture into the mold. Start at the corners and work your way to the center. This helps prevent air pockets from forming.
7. Remove Bubbles After pouring, some air bubbles may have formed. Use a heat gun or torch on a low setting to gently pass over the surface of the resin. The heat will cause the bubbles to rise and pop, leaving a smooth finish.
8. Let it Cure Allow the resin to cure as per the manufacturer's instructions. Curing times can vary, but it often takes 24 hours for the resin to set fully. Ensure that the mold is kept in a dust-free environment while curing.
9. Demold Your Creation Once fully cured, carefully peel back the mold. If you used a silicone mold, this process should be easy. For rigid molds, you may need to gently wiggle the piece out.
10. Finishing Touches After demolding, check for any rough edges. You can sand these down using fine-grit sandpaper for a smoother finish. If desired, apply a clear topcoat to enhance the shine.
Conclusion
Casting sand in resin is a rewarding project that allows you to create beautiful keepsakes or functional art. By following these steps, you’ll be able to craft stunning pieces that showcase your creativity and commemorate your special moments. Enjoy the process and let your imagination lead the way!
Post time:พ.ย. . 11, 2024 07:55
Next:3d sand casting