
Understanding Sanding in Casting Resins A Comprehensive Guide
Sanding, in the context of casting resins, is a crucial step in the finishing process that ensures a smooth, aesthetically pleasing surface for the final product. Casting resins are versatile materials used in various applications, including art projects, industrial components, and decorative items. Understanding the significance of sanding, the tools required, and the best techniques can greatly enhance the quality of your finished piece.
What is Casting Resin?
Casting resins are synthetic materials that, once mixed and poured into a mold, harden to form a solid object. They are popular among artists and craftsmen for their ability to replicate intricate details and create durable finishes. Common types of casting resins include epoxy, polyurethane, and polyester resins, each having unique properties that fit different requirements.
The Importance of Sanding
Sanding is often employed to refine the surface of cured castings. When resin is poured into molds, it may develop imperfections such as bubbles, uneven surfaces, or marks from the mold itself. These imperfections not only detract from the visual appeal of the piece but can also affect its overall durability and performance.
By sanding the surface, artisans can remove these blemishes, creating a smoother and more refined product. Additionally, sanding prepares the surface for subsequent treatments, such as painting, coating, or polishing. Without proper sanding, achieving a high-quality finish in later processes can be challenging, if not impossible.
Tools and Materials for Sanding
To achieve the best results with sanding, it’s essential to have the right tools and materials. The primary tools used for sanding include
1. Sandpaper Available in various grits, sandpaper is an essential tool for smoothing surfaces. A lower grit (e.g., 60-80) is effective for removing rough spots and imperfections, while higher grits (up to 2000) are ideal for final polishing.
2. Sanding Blocks These help to maintain an even pressure and provide better control when sanding larger or flat areas.
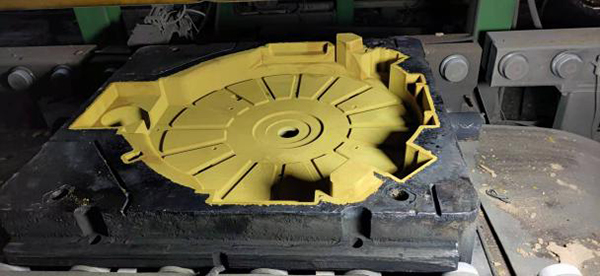
sanding casting resin
3. Dremel Tool or Rotary Sander For intricate details and hard-to-reach spots, a rotary sander or a Dremel tool can be invaluable. These tools allow for precision sanding and can achieve a polished look in tight areas.
4. Water and Soap Wet sanding, which involves using water and soap with sandpaper, can significantly reduce dust and improve the smoothness of the surface.
Best Practices for Sanding Casting Resins
To maximize the effectiveness of your sanding efforts, consider the following best practices
1. Begin with a Coarse Grit Start with a lower grit to remove major imperfections and gradually move to finer grits as you approach the desired finish.
2. Use Even Pressure Apply consistent pressure while sanding to avoid creating uneven surfaces or sanding through the resin.
3. Sand in Different Directions Alternate your sanding direction between each grit to ensure that you are removing scratches left by the previous grit.
4. Check Frequently Take breaks to inspect your progress. It’s easier to stop and reassess than to fix a mistake later on.
5. Clean the Surface After sanding, ensure that you clean the surface thoroughly to remove dust particles, as they can adhere to finishes applied afterward.
In conclusion, sanding is an indispensable process in the casting resin workflow, significantly impacting the quality of the final product. By using the right tools, adhering to best practices, and understanding the importance of this step, anyone working with casting resins can achieve stunning results, whether for artistic endeavors or functional applications. With practice and patience, the art of sanding can elevate your resin projects to new heights of excellence.
Post time:Novemba . 10, 2024 11:39
Next:Innovative Sand Casting Solutions for Your Manufacturing Needs and Project Success