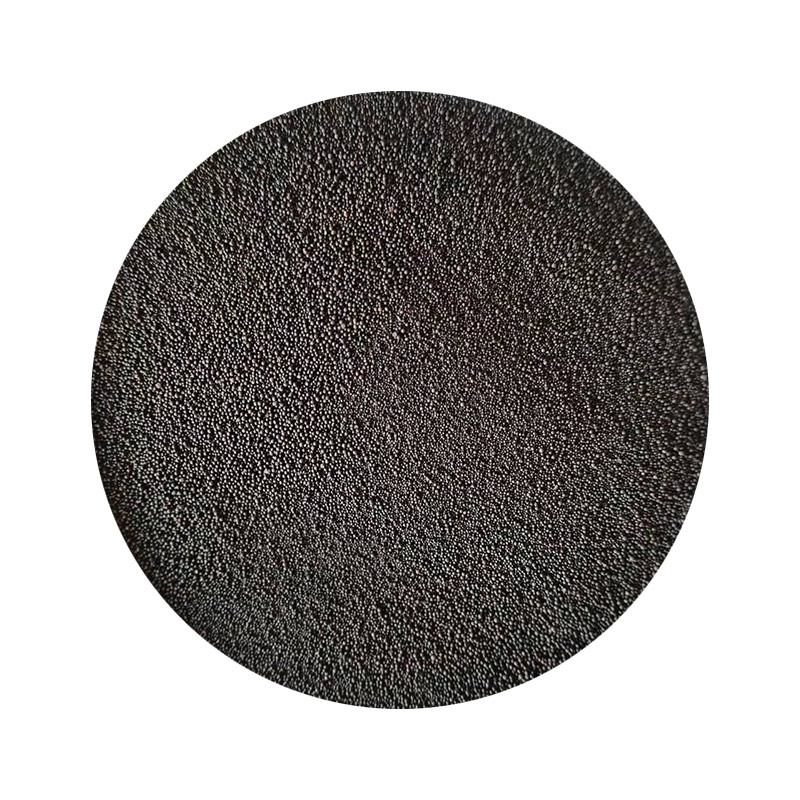
How to Cast Sand in Resin A Step-by-Step Guide
Casting sand in resin is a creative process that allows you to transform simple materials into beautiful art pieces or functional items. Whether you want to create coasters, jewelry, or decorative pieces, the combination of sand and resin can yield stunning results. Here’s how to get started with this exciting craft.
Materials Needed
1. Epoxy Resin Make sure to choose a quality, clear epoxy resin that is suitable for casting. 2. Sand You can use beach sand, colored sand, or any fine sand that fits your aesthetic. 3. Molds Silicone molds work best as they allow for easy release once the resin cures. 4. Mixing Cups Use disposable cups for mixing resin. 5. Stirring Sticks Wooden or plastic sticks for mixing the resin. 6. Protective Gear Gloves, a mask, and safety goggles to ensure protection while working with resin. 7. Color Pigments (Optional) If you want to color your resin or enhance the sand's appearance. 8. Heat Gun or Torch To eliminate air bubbles from the resin.
Step-by-Step Process
1. Preparation Start by choosing a clean, well-ventilated workspace. Lay down a plastic sheet or newspaper to catch any spills. Assemble all your materials within reach to make the process smoother.
2. Mixing the Resin Follow the manufacturer’s instructions to mix the resin. Generally, this involves combining the resin and hardener in a specific ratio. Stir the mixture slowly using a stick for a few minutes until fully combined with a consistent color and texture.
3. Adding Color (Optional) If you choose to enhance the resin with color, add your desired pigments at this stage and mix thoroughly.
how to cast sand in resin

4. Layering the Sand Pour a thin layer of mixed resin into your mold. Let it settle for a few minutes before adding sand. Sprinkle the sand evenly over the resin layer, allowing some to sink while keeping some on top for texture.
5. Adding More Resin After the initial layer has set but is still tacky, pour more resin over the sand to encapsulate it. Ensure that the sand is fully covered. You may repeat this layering process depending on how thick you want your final product to be.
6. Removing Air Bubbles Use a heat gun or a torch to carefully pass over the surface of the resin. This step helps eliminate any air bubbles that may have formed during mixing.
7. Curing Allow the resin to cure as per the manufacturer's instructions. This normally takes at least 24 hours. Be sure to cover the mold to avoid dust settling on the surface during this time.
8. Demolding Once fully cured, gently remove the cast from the mold. If you used a silicone mold, it should pop out easily.
9. Finishing Touches Depending on your project, you may want to sand the edges for a smoother finish or apply a layer of clear coat for extra shine and protection.
Final Thoughts
Casting sand in resin is a fulfilling craft that blends creativity with technical skill. Experimenting with different sands and colors can lead to unique finishes and creations. Remember to prioritize safety while working with resin and enjoy the process of bringing your artistic visions to life. Happy crafting!
Post time:Oktoba . 31, 2024 15:33
Next:Exploring Sand Casting Techniques and Innovations in China’s Manufacturing Industry
