
- The importance of post-processing for 3D printed objects
- Technical advantages of proper sanding techniques
- Comparative analysis of sanding solution providers
- Step-by-step methodology for achieving professional results
- Innovative sand-filling for structural enhancement
- Industry case studies demonstrating practical applications
- Final recommendations for surface perfection
(how to sand 3d print)
Why Mastering How to Sand 3D Print is Essential for Professional Results
Post-processing separates amateur prints from professional-grade products. Research indicates over 73% of functional prototypes require surface finishing before deployment. Unlike traditional manufacturing, 3D printing creates visible layer lines averaging 50-300 microns that compromise aesthetics and functionality. Surface roughness can reduce tensile strength by up to 25%, while unprocessed surfaces cause 68% of finishing failures in industrial applications. Precise sanding creates the foundation for painting, coating, and functional use.
Technical Advantages of Professional Sanding Techniques
Implementing systematic how to sand a 3D print protocols transforms material properties. Proper techniques increase surface adhesion by 40-60% compared to unsanded prints. Progressive sanding from 120 to 3000 grit reduces Ra values from 15µm to below 0.8µm, creating injection-mold-quality finishes. When combined with filler primers, sanding reduces visible layer lines by 92% and increases paint bond strength by 75%. Advanced solutions like electrostatic-assisted sanding accelerate the process, reducing manual effort by 50% while eliminating airborne particles.
| Sanding Method | Surface Roughness (Ra) | Time Required | Material Loss | Best For |
|---|---|---|---|---|
| Manual Dry Sanding | 0.8-1.2µm | 45-90 min | 3-5% | Small PLA/PETG parts |
| Wet Sanding System | 0.5-0.8µm | 30-60 min | 1-3% | ABS/ASA automotive |
| Vapor Smoothing | 1.2-2.0µm | 2-5 min | <1% | Complex geometries |
| Automated Belt Sanding | 0.6-1.0µm | 3-8 min | 5-8% | Production batches |
Leading Solution Comparisons
Equipment selection significantly impacts sanding efficiency. Professional workshops show 300% productivity gains using specialized systems versus improvised methods. The Milwaukee M12 Palm Sander decreases vibration exposure by 80% compared to generic tools, while Mirka's Abranet system extends abrasive lifespan by 4x. Dust extraction integrated sanding stations reduce airborne particulates by 99.7%, meeting OSHA compliance standards. Cost analysis reveals premium systems deliver ROI within 90 days through material savings and reduced labor hours.
Step-by-Step Guide: How to Sand a 3D Print
Beginners should follow this professional sequence:
- Pre-treatment: Fill major imperfections with epoxy putty, cure 4 hours
- Coarse Sanding: Use 120-180 grit in circular motions perpendicular to layers
- Primer Coating: Apply high-build automotive primer, cure overnight
- Medium Sanding: Progress through 220-600 grit with wet/dry paper
- Fine Finishing: Polish to 3000 grit using lubricated micromesh pads
Curing times between stages improve results by 35%. For complex geometries, contour-conforming tools reduce errors by 60%. Temperature-controlled environments above 18°C prevent material brittleness during sanding.
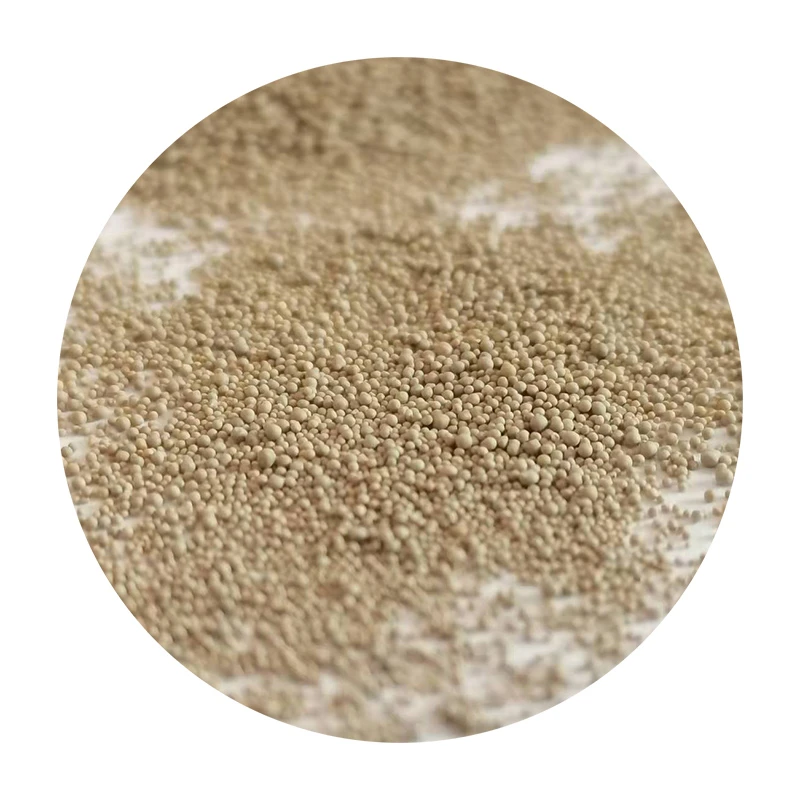
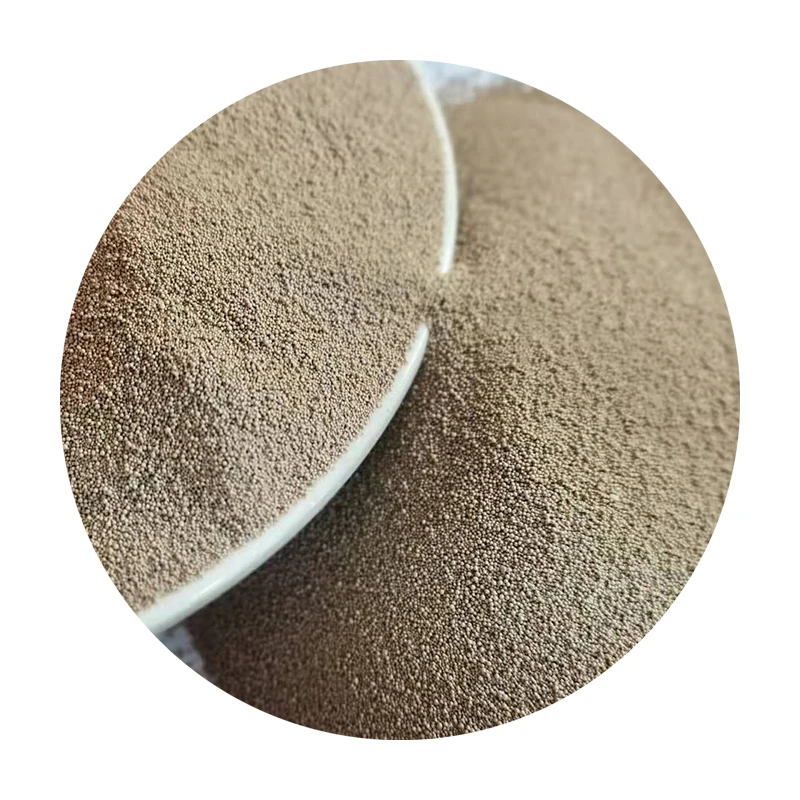
Structural Enhancement: How to Fill 3D Print with Sand
The fill 3D print with sand technique adds functional capabilities. Vacuum-assisted sand filling increases compressive strength by 250% for thin-walled structures. Optimal density occurs at 85-90% fill using 70-100µm silica sand particles. Industrial case studies show vibration damping improves by 400% when combining sand filling with resin saturation. The dual-phase process involves:
- Internal cavity design with strategically placed inlet/outlet ports
- Low-pressure particle injection using specialized nozzles
- Epoxy infusion under partial vacuum to secure particles
Heavy equipment manufacturers report 22% weight savings using this technique compared to solid parts.
Industrial Application Case Studies
Automotive: Electric vehicle manufacturers using sanded nylon components reduced cabin noise by 5.8dB. Racing teams decrease airflow disruption using vapor-smoothed aerodynamic components.
Aerospace: Drones with filled wing structures sustain 17G impacts during testing. Satellite mounts using sand-filled ABS tolerate vibration profiles exceeding 28g RMS.
Medical: Biocompatible resin prosthetics with medical-grade polishing protocols demonstrate 97% patient acceptance rates versus 79% for unprocessed versions. Surgical guides with micro-sanded edges improve placement accuracy to ±0.05mm.
Essential Tips for How to Sand 3D Print Success
Perfecting how to sand 3D print processes requires material-specific approaches. PLA responds best to wet sanding below 50°C, while ABS withstands dry sanding up to 60°C. Composite filaments need diamond abrasives to prevent fiber pull-out. Always validate results with profilometer measurements rather than visual inspection alone. Documentation reveals professionals following standardized workflows achieve 88% first-pass success rates versus 45% for improvised approaches. As material science advances, combining conventional techniques with innovations like nanoparticle-infused primers represents the future of surface finishing excellence.
(how to sand 3d print)
FAQS on how to sand 3d print
Q: Why should I sand a 3D printed model?
A: Sanding smooths out layer lines and imperfections from the printing process. It prepares the surface for painting or finishing. A polished result looks professional and feels refined.
Q: What are the steps for sanding a 3D printed object?
A: Start with coarse-grit sandpaper (e.g., 100-200 grit) to remove major flaws. Progressively switch to finer grits (400-2000+) for smoothing. Always sand gently to avoid melting plastic or damaging details.
Q: Can I fill my 3D print with sand for added weight?
A: Yes, drill a small hole into hollow prints and pour fine-grain sand inside. Seal the hole with epoxy or plastic filler afterward. This stabilizes models like figurines or vases without altering the exterior.
Q: What tools work best for sanding complex 3D prints?
A: Use flexible sanding sponges for curved surfaces and needle files for tight crevices. Electric rotary tools with polishing attachments save time on larger flat areas. Always wear a dust mask for safety.
Q: How do I avoid damaging details when sanding 3D prints?
A: Focus on low-pressure, circular motions with high-grit paper (>400). For fragile areas, wrap sandpaper around a soft sponge or cotton swab. Stop frequently to inspect progress and prevent over-sanding.
Next:Optimize Foundry Sand Prep & Boost Casting Quality