
How to Sand a 3D Print A Step-by-Step Guide
3D printing offers an incredible way to bring your designs to life, but the finish of the print can sometimes leave much to be desired. Whether you’re creating a prototype, a model for a show, or a functional object, sanding can significantly improve the surface quality of your prints. This guide will outline the essential steps and tips for sanding your 3D prints effectively.
Materials Needed
Before you begin, gather the following materials
- Sandpaper (various grits 80, 120, 220, 400) - A sanding block or your fingers (for smaller prints) - Water (optional, for wet sanding) - Safety goggles and a mask (for dust protection)
Step 1 Choose the Right Sandpaper
Start with coarse sandpaper, such as 80 or 120 grit, to remove any significant layer lines or imperfections from the print. Depending on the material you used (PLA, ABS, PETG, etc.), you may need to adjust the sandpaper grit. For example, ABS can be sanded more aggressively than PLA due to its durability.
Step 2 Begin Sanding
Begin sanding your print using the coarse sandpaper. Use a light to moderate pressure to avoid damaging the print. Focus on the areas with more visible layer lines. It is best to sand in a circular motion, which helps to blend the surface and eliminate unevenness.
Step 3 Progress to Finer Grits
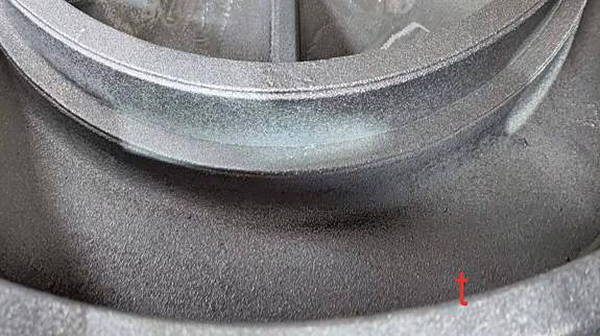
how to sand a 3d print
Once the initial sanding is complete and the major imperfections are smoothed out, switch to a finer grit sandpaper, like 220 or 400. This step will help remove the scratches left by the coarser sandpaper and refine the surface further. Sand lightly and consistently for an even finish.
Step 4 Wet Sanding (Optional)
For an even smoother finish, consider wet sanding. This technique involves using water with your sandpaper to reduce dust and achieve a finer finish. Take your fine grit sandpaper and soak it in water. Then, gently sand your print while continuously applying water to the surface. This prevents clogging and aids in achieving a polished look.
Step 5 Clean the Print
After sanding, it’s essential to clean the print to remove any dust or residue. Use a damp cloth or brush to wipe down the print thoroughly. This step not only improves the appearance but also prepares the surface for painting or finishing if desired.
Step 6 Finish and Paint (Optional)
If you're planning to paint or apply a finish to your print, make sure the surface is completely smooth. At this point, you can apply a primer if necessary, followed by your preferred paint or coating.
Conclusion
Sanding is an integral part of finishing a 3D print, turning a rough model into a polished masterpiece. By following these steps and using the right materials, you can significantly enhance the look and feel of your 3D printed objects. Remember to take your time and enjoy the process, as the results can be greatly rewarding!
Post time:നവം . 14, 2024 09:24
Next:uses of foundry sand