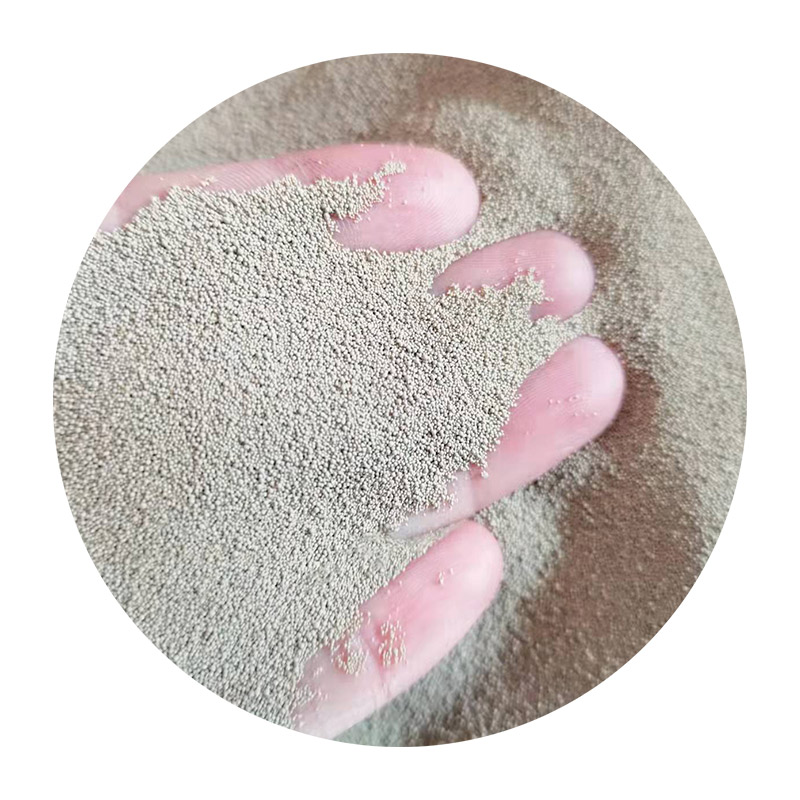
How to Sand Ceramic A Comprehensive Guide
Sanding ceramic can seem like a daunting task, especially if you're new to working with this fragile material. However, with the right tools and techniques, you can achieve smooth edges and surfaces on your ceramic pieces, whether they are pottery, tiles, or other ceramic items. In this guide, we will explore the methods, tools, and tips you need to successfully sand ceramics.
Understanding the Basics of Ceramics
Ceramics are made primarily from clay and often fired at high temperatures, making them hard and brittle. This hardness is one of the reasons sanding is necessary for achieving a refined finish or correcting any imperfections. Before you begin, it’s crucial to understand that not all ceramics are created equal; some may be more prone to chipping or cracking than others, so proceed with caution.
Necessary Tools and Materials
1. Sandpaper Choose sandpaper with varying grits. Start with a coarse grit (around 80-120) for initial sanding, then move to finer grits (220-400) for smoothing. 2. Sanding Block or Sponge For larger surfaces, a sanding block provides extra stability. Sanding sponges are flexible and can conform to irregular shapes.
3. Water Wet sanding can significantly reduce dust and protect the ceramic surface, making it less prone to cracking. This technique also helps achieve a smoother finish.
4. Safety Gear Protect your eyes and lungs with safety goggles and a mask, as sanding ceramics can create fine dust particles.
Step-by-Step Sanding Process
Step 1 Prepare the Workspace
Before you begin sanding, set up a clean, well-lit workspace. Lay down a drop cloth or newspaper to catch any dust and debris. Ensure that your tools are easily accessible.
Step 2 Inspect the Ceramic Piece
Examine the ceramic piece for any rough areas, chips, or blemishes you wish to smooth out. Knowing your target areas will help you focus your efforts effectively.
Step 3 Choose Your Sanding Method
You can either dry sand or wet sand the ceramic
how to sand ceramic

- Dry Sanding Use this method for quick projects or when you need to remove significant material. However, be aware that this method creates more dust and can increase the risk of chipping.
- Wet Sanding Ideal for completing or polishing the surface, this method minimizes dust and heat buildup, which can lead to cracks. To wet sand, simply wet the sandpaper or the surface of the ceramic with water.
Step 4 Start with Coarse Grit Sandpaper
Begin with the coarse grit sandpaper to address any significant imperfections or rough spots. Sand in a gentle, circular motion or in a back-and-forth pattern, applying light pressure. Remember to keep the surface and sandpaper wet if using the wet sanding method.
Step 5 Progress to Finer Grits
Once you’ve achieved a smoother surface with the coarse grit, switch to a finer grit sandpaper. Repeat the sanding process, paying close attention to the essential areas, until you reach the desired smoothness. Always keep the piece wet to enhance your results.
Step 6 Clean the Surface
After sanding, wipe the ceramic piece with a damp cloth to remove any dust or debris. Inspect the surface to ensure that all imperfections have been adequately addressed.
Tips for Best Results
- Take Your Time Rushing through sanding can lead to mistakes, such as accidentally creating new scratches or chips. - Use Even Pressure Apply consistent, moderate pressure to avoid damaging the ceramic piece.
- Check Your Progress Frequently Stop occasionally to assess your work. This will prevent you from over-sanding and help you achieve a smooth finish.
- Practice on Scrap Pieces If you're new to sanding ceramics, consider practicing on scrap pieces to build your confidence and refine your technique.
Conclusion
Sanding ceramic is a valuable skill that can enhance your pottery or ceramic projects significantly. With patience, the right tools, and attention to detail, you can create a beautifully finished piece that showcases your craftsmanship. Whether you are repairing a cherished item or perfecting a new creation, follow these steps to achieve stunning results. Happy sanding!
Post time:Lap . 27, 2024 20:22
Next:Benefits of Utilizing Lost Foam Casting in Modern Manufacturing Processes
