Resin Sanding A Comprehensive Guide to Achieving Flawless Finishes
Resin sanding is an essential process in the realm of crafting and manufacturing, particularly for items made from epoxy, polyester, or urethane resins. From creating stunning pieces of art to producing functional prototypes, understanding the intricacies of sanding resin can greatly enhance the quality of the final product.
The significance of sanding lies in its ability to create a smooth, even surface that enhances the aesthetic appeal of the resin project. When cured, resin can often have a bumpy or uneven surface, which can be visually unappealing and may interfere with further finishing processes, such as painting or applying a topcoat. Proper sanding techniques not only improve the appearance but also prepare the surface for additional treatments.
Step-by-Step Process of Resin Sanding
1. Curing Time The first step in resin sanding is ensuring that the resin is completely cured. This can vary based on the type of resin used, so it is essential to follow the manufacturer’s instructions regarding curing time. Typically, resin can take anywhere from a few hours to multiple days to fully harden, depending on environmental conditions.
2. Tools and Materials To achieve the best results, you will need the right set of tools. Sanding blocks or pads, vacuum cleaners, dust masks, and safety goggles are crucial. It is advisable to use various grits of sandpaper, starting from a coarse grit (around 80-120) and progressively moving to finer grits (up to 2000 or beyond) for ultimate smoothness.
3. Initial Sanding Begin with the coarse grit sandpaper to remove any major imperfections. Focus on areas with noticeable bumps or drips. It's important to sand evenly and avoid putting too much pressure, which can lead to uneven surfaces.
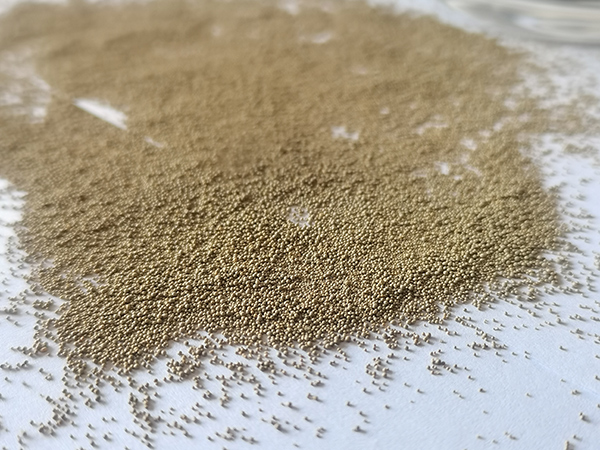
resin sanding

4. Progressing to Finer Grits After the initial sanding, switch to a medium grit (around 220-400) to smooth out the surface further. This step should eliminate most of the scratches left by the coarser sandpaper. Finally, use finer grits (600-2000) to achieve that polished, glass-like finish. Wet sanding can be beneficial at this stage, as it reduces dust and helps to achieve a smoother finish.
5. Cleaning the Surface After sanding, it is crucial to clean the surface to remove any dust or debris that could affect the final finish. Using a vacuum or a damp cloth can effectively achieve this. Allow the surface to dry completely before proceeding with any additional finishing treatments.
6. Finishing Touches Depending upon the project, you may choose to apply a clear coat or varnish post-sanding. This not only adds depth to the resin but also protects it from scratching and UV damage.
Best Practices for Successful Resin Sanding
- Always wear protective gear to avoid inhaling dust and to protect your eyes. - Work in a well-ventilated area to minimize exposure to fumes and dust. - Test sanding techniques on a small area or scrap piece of resin before moving on to the final project.
In conclusion, resin sanding is a vital skill for anyone working with resin materials. By mastering the sanding process, crafters and manufacturers can create stunning, high-quality pieces that are not only visually appealing but also durable and long-lasting. Whether you are a hobbyist or a professional, understanding the nuances of resin sanding can greatly enhance your craft, allowing for exceptional finishes that truly stand out.
Post time:10월 . 30, 2024 18:32
Next:resin and sand mix
