The Art of Ceramic Sanding Techniques and Tips for Success
Ceramic sanding is a crucial step in achieving a smooth and polished finish for various ceramic pieces, from functional pottery to intricate decorative items. This process not only enhances the aesthetic appeal of ceramics but also prepares the surface for glazing and other treatments. In this article, we will explore the techniques and tips for effective ceramic sanding, ensuring optimal results for both beginners and seasoned artisans.
Understanding the Basics of Ceramic Sanding
Ceramic sanding involves the use of abrasive materials to remove imperfections and achieve a desired surface texture on ceramic items. Before diving into the sanding process, it’s essential to ensure that the piece has been properly bisque-fired, which strengthens the clay and prepares it for finishing. Attempting to sand unfired clay can lead to a messy and unmanageable situation.
Choosing the Right Tools
The choice of sanding tools is vital for the success of your project. Sandpaper is the most common abrasive material, and it comes in various grits. The grit number indicates the coarseness of the sandpaper; lower numbers (e.g., 60-120 grit) are used for heavy sanding and removing significant imperfections, while higher numbers (e.g., 400-600 grit) are suited for fine finishing.
In addition to sandpaper, other tools such as sanding sponges and diamond hand pads can also be useful. Sanding sponges offer flexibility, allowing them to conform to the contours of the ceramic piece. Diamond hand pads are particularly effective for polishing and can provide a high-gloss finish.
Techniques for Effective Sanding
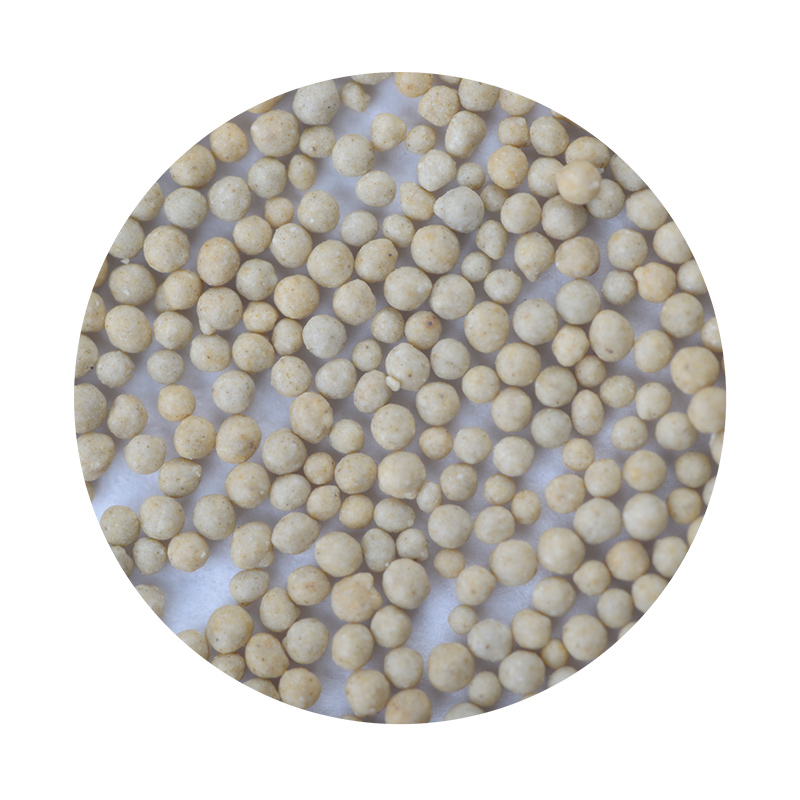
ceramic sanding

1. Wet vs. Dry Sanding Ceramic sanding can be done either wet or dry. Wet sanding helps to reduce dust, minimize scratches, and keep the surface cool, making it ideal for finer sanding. To wet sand, simply soak the sandpaper or sponge in water and work it over the ceramic piece. For dry sanding, ensure a clean and well-ventilated workspace to manage dust effectively.
2. Start with Coarse Grit Begin the sanding process with a coarse grit paper to remove any major imperfections. Sand in a circular motion or follow the contours of the piece to achieve even results.
3. Progress Gradually After addressing the rough spots, gradually move to finer grits. This step-by-step approach helps in achieving a smoother finish without damaging the ceramic surface.
4. Frequent Inspection Regularly check your progress to ensure that you are achieving the desired smoothness. It’s easy to oversand, which can lead to uneven surfaces or alterations in design.
5. Clean Between Grits After sanding with a particular grit, clean the piece to remove any dust or debris before moving on to a finer grit. This practice prevents scratches from larger particulate during the smoothing process.
Conclusion
Ceramic sanding is an indispensable technique for achieving a professional finish in ceramic arts. With the right tools and techniques, even novice potters can successfully enhance their creations. Remember to take your time, choose appropriate grits, and inspect your work regularly to ensure the best results. The art of ceramic sanding not only prepares your pieces for glazing but also elevates your craftsmanship to new heights, making each item truly special. Happy sanding!
Post time:កញ្ញា . 04, 2024 07:16
Next:sand for resin
