How to Cast Sand in Resin A Step-by-Step Guide
Casting sand in resin is a creative and rewarding process that allows you to create beautiful, durable pieces of art. Whether you want to incorporate natural textures into your designs or capture the essence of a beach scene, this technique provides endless possibilities. Below is a step-by-step guide on how to effectively cast sand in resin.
Materials Needed
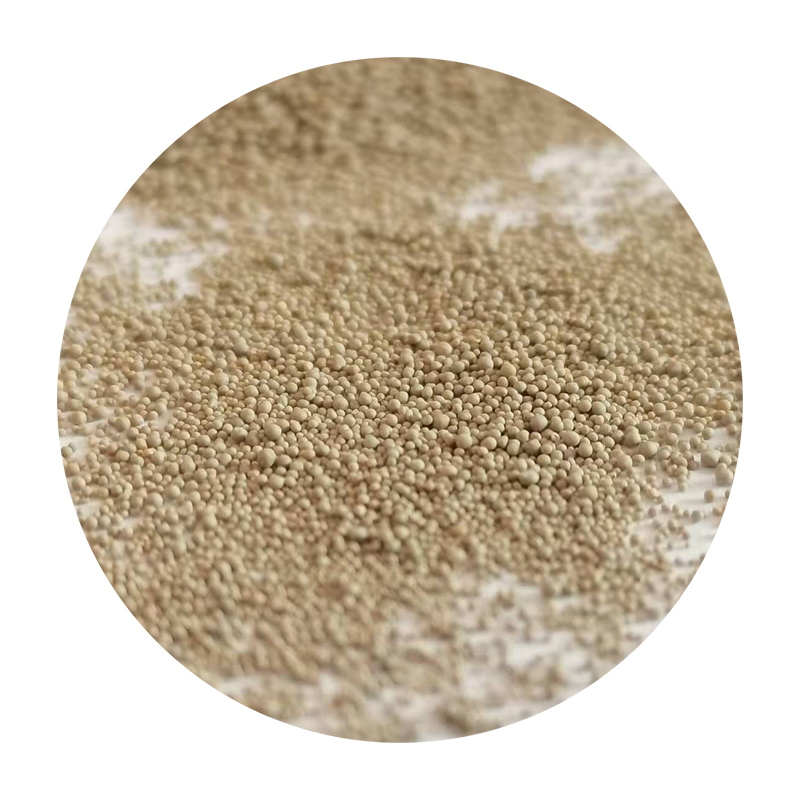
1. Epoxy Resin Ensure you choose a high-quality epoxy resin that suits your project needs. The resin usually comes in two parts resin and hardener. 2. Sand You can use beach sand, colored sand, or even decorative sand from craft stores. Ensure it’s clean and free of debris. 3. Mixing Supplies Cups, stirring sticks, and gloves for mixing the resin. 4. Molds Silicone molds work best since they allow for easy demolding. 5. Measuring Tools Use a scale or measuring cups to ensure accurate ratios of resin and hardener. 6. Protective Gear Safety goggles and a mask to protect against fumes.
Step-by-Step Process
1. Preparation Start by selecting a well-ventilated area for your project. Ensure your working surface is covered with plastic or newspaper to catch any drips or spills.
2. Mix the Resin Follow the manufacturer’s instructions to mix the epoxy resin. Typically, you will combine equal parts of the resin and hardener. Stir thoroughly for at least 3-5 minutes, making sure to scrape the sides and bottom of the mixing container to incorporate all the components.
how to cast sand in resin

3. Add Sand Once the resin is mixed, slowly add sand to the mixture. The amount of sand you add depends on how textured you want your final piece to be. A general guideline is to use one part sand to four parts resin, but you can adjust this to achieve your desired look. Stir the sand into the resin until it is evenly distributed.
4. Pour into Mold Carefully pour the resin-sand mixture into the silicone molds. Pour slowly to prevent air bubbles from forming. If you notice any bubbles on the surface, you can gently tap the mold or use a heat gun to help them rise and pop.
5. Curing Time Allow the resin to cure according to the manufacturer’s instructions. This can take anywhere from 24 to 72 hours, depending on the size of your cast and the type of resin used. Avoid moving the molds during this time to ensure a smooth surface.
6. Demolding Once the resin is fully cured, carefully remove it from the mold. Silicone molds should release easily, but if you encounter resistance, gently flex the mold to help release the casting.
7. Finishing Touches Inspect your piece for any imperfections. You can sand the edges for a smoother finish or apply additional resin for a glossy topcoat. For a more polished look, consider sealing your piece with a clear acrylic spray.
Conclusion
Casting sand in resin is a fun and versatile art form that allows you to create unique pieces filled with personal significance. Whether you’re making coasters, decorative art, or jewelry, following these steps will help you achieve professional-looking results. So gather your materials and let your creativity flow!
Post time:Қаз . 08, 2024 04:18
Next:fundição de areia de baixo volume
