
How to Cast Sand in Resin A Comprehensive Guide
Resin casting is a popular craft that allows artisans to create stunning, durable pieces of art or functional items. One of the intriguing techniques in resin casting involves using sand as an additive. This not only enhances the aesthetic appeal but also adds a touch of uniqueness to your creations. In this article, we will explore the process of casting sand in resin, covering materials needed, preparation steps, and tips for achieving stunning results.
Materials Needed
Before diving into the casting process, it's crucial to gather all necessary materials. Here’s a comprehensive list
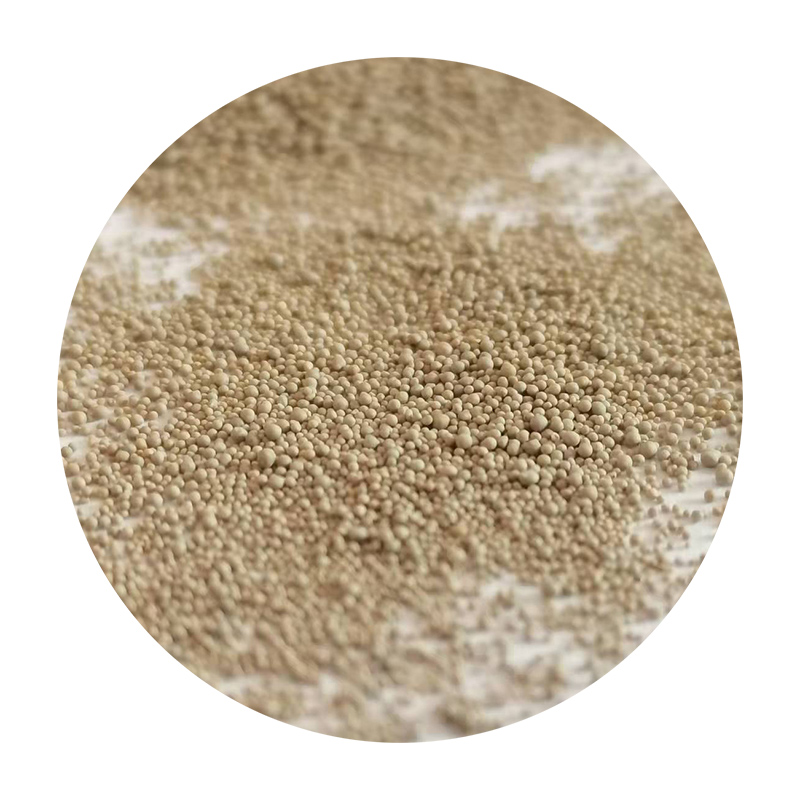
1. Epoxy Resin Choose a high-quality epoxy resin designed specifically for casting. Look for one that suits your project's size and complexity. 2. Sand Fine, clean sand works best. You can use colored sand or natural sand, depending on the effect you want to achieve.
3. Mold A silicone mold is ideal for resin casting. Ensure it’s clean and free from dust or debris.
4. Mixing Cups and Sticks These are essential for accurately measuring and mixing the resin components.
5. Protective Gear Safety goggles, gloves, and a mask are recommended to protect yourself from fumes and skin irritation.
6. Heat Gun or Torch Useful for removing bubbles from the resin once poured.
7. Pigments or Dyes (optional) If you want to add color to your resin alongside the sand.
Step-by-Step Guide to Casting Sand in Resin
Step 1 Prepare Your Workspace
Choose a well-ventilated area for your resin work, as the fumes can be strong. Lay down a protective covering on your work surface to catch any spills. Organizing your materials beforehand will make the process smoother.
Step 2 Prepare the Resin
Follow the manufacturer's instructions for mixing the epoxy resin. Typically, you'll need to combine equal parts of the resin and hardener. Using a mixing cup, carefully measure out each component and mix thoroughly with a stick until fully combined, ensuring no streaks remain.
how to cast sand in resin
Step 3 Add the Sand
Once your resin is mixed, it’s time to incorporate the sand. The amount of sand you use can vary based on your desired effect. As a general guideline, you can start with a ratio of 1 part sand to 3 parts resin. Stir the sand into the resin mixture until evenly distributed.
If you're using colored sand or wish to add pigments/dyes, the best time to mix them in is after the sand is well combined with the resin but before pouring into the mold.
Step 4 Pour the Mixture into the Mold
Carefully pour the sand-resin mixture into your silicone mold. Pouring slowly and steadily will help reduce the number of air bubbles formed. Make sure to fill the mold to the desired level, leaving some space if you're planning to add more resin after the initial pour.
Step 5 Remove Bubbles
After pouring, allow the mixture to sit for a few minutes. Use a heat gun or torch to gently pass over the surface of the resin. This will help release any trapped bubbles. Be cautious not to overheat the resin, as this could cause it to cure improperly.
Step 6 Let It Cure
Follow the manufacturer's guidelines for curing time. Most resins will require anywhere from 24 to 72 hours to fully cure. Make sure your piece is in a dust-free environment during this time to avoid any impurities settling into the resin.
Step 7 Demold and Finish
Once fully cured, gently remove your piece from the mold. Depending on your project, you may need to sand the edges for a smoother finish. You can also add a top coat of resin for added shine and durability.
Tips for Success
- Practice makes perfect. If you are new to resin casting, start with small projects to get the hang of the process. - Experiment with various types of sand and additives to find the look you love. - Always conduct a patch test if using new pigments or materials to ensure compatibility with the resin. - Be patient and allow the resin to cure fully; this will enhance the final quality of your project.
Conclusion
Casting sand in resin opens up a world of creative possibilities. By following these steps and tips, you’ll be well on your way to creating beautiful resin pieces that showcase the unique textures and colors of sand. Embrace the process, experiment with different elements, and most importantly, have fun creating!
Post time:des . 15, 2024 22:25
Next:Create a colorful playground with innovative sand for endless imaginative play.