Steps of Sand Casting
Sand casting is one of the oldest and most versatile metal casting processes, widely used in various industries for the creation of complex shapes and components. The process utilizes a mixture of sand, clay, and water to form molds for metal pouring. Understanding the steps involved in sand casting can provide insights into its practicality and efficiency.
Step 1 Designing the Pattern
The sand casting process begins with the creation of a pattern, which is a replica of the final product. Patterns can be made from wood, plastic, or metal, and they are designed to include allowances for shrinkage and finishing. A key aspect of the pattern design is ensuring that it can be easily removed from the sand mold without damaging the mold itself.
Step 2 Preparing the Mold
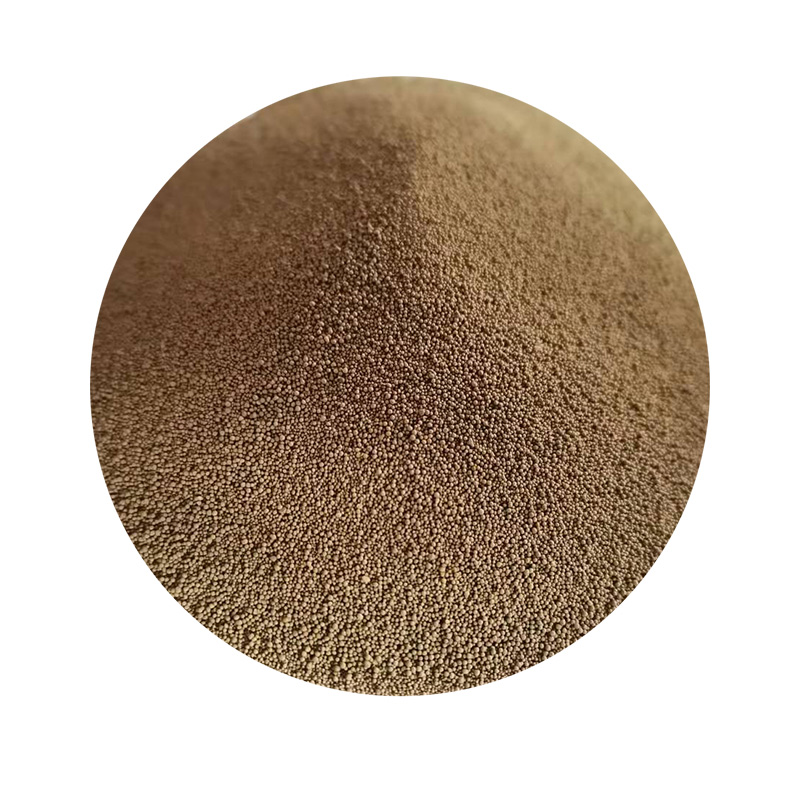
Once the pattern is created, the next step is preparing the mold. This involves mixing sand with a binder, typically clay, and water to create a semi-cohesive mixture. The sand is then packed tightly around the pattern in a mold box. The pattern is carefully removed to leave a cavity in the shape of the object to be cast. It’s crucial that the mold halves are aligned perfectly to avoid defects in the final casting.
Step 3 Adding Core (if necessary)
If the casting requires internal features, cores made from sand mixtures are prepared and placed in the mold. Cores are inserted after pattern removal to create hollow sections in the final product. The placement of the cores and their securing methods are carefully planned to ensure they remain stable during the pouring process.
Step 4 Pouring the Metal
steps of sand casting

Once the mold and any necessary cores are set, the molten metal is prepared for pouring. Various metals such as aluminum, iron, or bronze can be used depending on the application. The molten metal is poured into the mold cavity through a pouring cup and runners, allowing it to fill the space created by the pattern. Temperature and pouring speed are critical factors, as they influence the final component’s quality.
Step 5 Cooling and Solidification
After the metal is poured, it needs time to cool and solidify. The cooling rate can affect the material properties of the casting, including its strength and grain structure. Typically, the cooling process can take anywhere from a few minutes to several hours, depending on the size and thickness of the casting.
Step 6 Removing the Casting
Once fully cooled, the mold halves are separated to reveal the casting. This requires careful handling to avoid damage. The casting may have excess material, known as flash, which is then removed through trimming or grinding.
Step 7 Finishing Processes
The final step involves finishing processes, which may include sandblasting, machining, or surface treatments to enhance the appearance and performance of the casting.
In summary, sand casting is a multi-step process that involves designing patterns, preparing molds, pouring molten metal, and finishing the castings. This age-old technique remains popular for its ability to produce intricate designs and robust components across various industries.
Post time:Սպտ . 22, 2024 23:25
Next:different types of foundry sand
