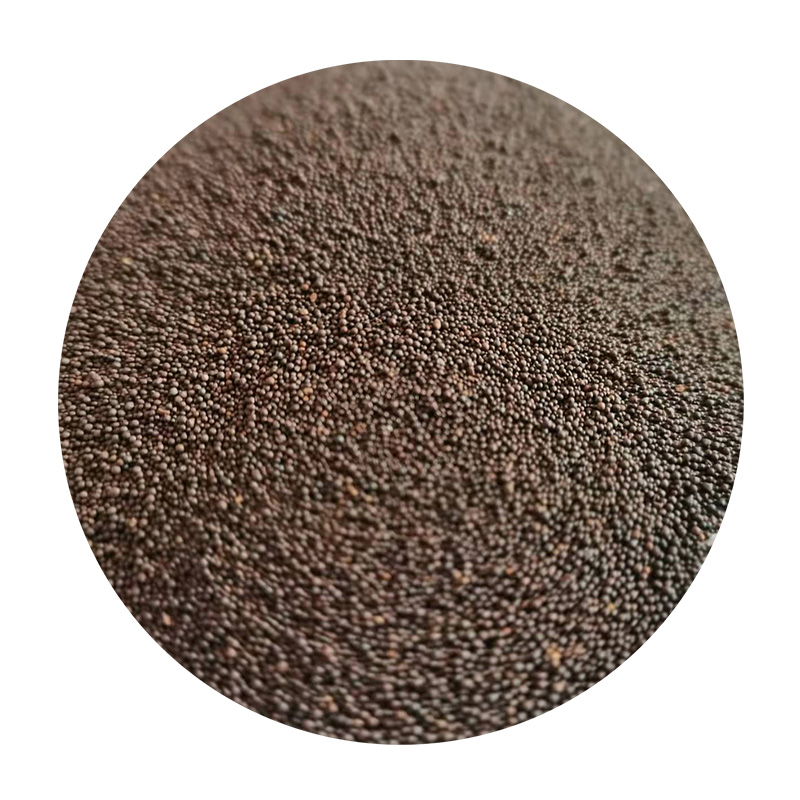
How to Cast Sand in Resin A Step-by-Step Guide
Casting sand in resin has become an increasingly popular art form and craft project. Whether you are an experienced crafter or a beginner, this technique allows you to create stunning pieces that blend the natural texture of sand with the glossy finish of resin. In this guide, we will explore the materials needed, the preparation process, and the step-by-step casting method to help you create your own unique sand and resin artwork.
Materials Needed
Before diving into the process, it’s essential to gather all the necessary materials
1. Epoxy Resin A two-part resin system that includes resin and hardener, which can be found at craft stores. 2. Sand You can use fine sand from the beach or craft stores. Colored sand can also be used for added aesthetic appeal. 3. Mixing Cups and Sticks To mix and pour the resin effectively. 4. Protective Gear Nitrile gloves, safety glasses, and a respirator mask to protect yourself from fumes and skin contact. 5. Silicone Molds Choose molds that suit the shapes you wish to create, such as coasters or decorative pieces. 6. Pigments (optional) If you want to add color to your resin, choose resin-safe pigments or dyes.
Preparation
1. Work Area Begin by preparing your workspace. Ensure it is well-ventilated and free from dust and debris. A flat, level surface is ideal for casting. 2. Protective Gear Make sure to wear gloves, a mask, and goggles to protect yourself from resin fumes and spills.
3. Measure and Mix Follow the instructions on the epoxy resin carefully. Typically, you’ll need to mix equal parts of resin and hardener by volume. Use separate cups to measure each component accurately, then combine them in a larger cup. Mix thoroughly for about 3-5 minutes until the mixture is clear and free of bubbles.
Casting Process
how to cast sand in resin

1. Layering the Sand Before pouring the resin, consider the design you want to create. If you want to show layers of sand, pour a small amount of sand into the mold first. The amount of sand you use depends on how much depth you wish to achieve.
2. Pouring the Resin Once the sand is positioned, slowly pour the mixed resin over the sand. Start in the center of the mold and allow the resin to spread, ensuring it encapsulates the sand evenly. If you want a beach-like effect, you can create waves by mixing the resin with some colored pigments before pouring.
3. Adding More Layers For multi-layered designs, allow the first layer to partially cure (usually about 3-4 hours, but follow the resin manufacturer's instructions). Once it's tacky, add another layer of sand followed by another pour of resin. This method gives depth and an exciting dimension to your artwork.
4. Curing After the final pour, allow the resin to cure fully. This may take anywhere from 24 to 72 hours, depending on the resin type and environmental conditions. Avoid moving the mold during this time to ensure a smooth finish.
Finishing Touches
Once your resin is fully cured, carefully remove it from the mold. You may need to sand the edges with fine-grit sandpaper if there are sharp or uneven areas. Polishing with a soft cloth can reveal the resin’s natural shine and enhance its appearance.
Conclusion
Casting sand in resin is not only an enjoyable craft but also a way to create personalized, artistic pieces. With practice and creativity, you can experiment with different sand colors, resin layers, and designs to craft something truly unique. Whether you decide to make coasters, decorative art pieces, or jewelry, the possibilities are endless. So gather your materials, follow these steps, and enjoy the mesmerizing process of creating sand and resin art!
Post time:نوامبر . 30, 2024 13:13
Next:Trends and Insights on Golden Sands Pricing and Market Fluctuations
