
How to Cast Sand in Resin A Step-By-Step Guide
Casting sand in resin is a creative technique that allows you to encapsulate intricate designs, textures, and natural materials into a beautiful, durable form. This method is not only popular among crafters and artists but also among DIY enthusiasts looking to preserve memories from the beach or create stunning, functional art pieces. In this guide, we’ll walk you through the steps to successfully cast sand in resin, ensuring that your projects are both visually appealing and long-lasting.
Materials Needed
Before you begin, gather the following materials
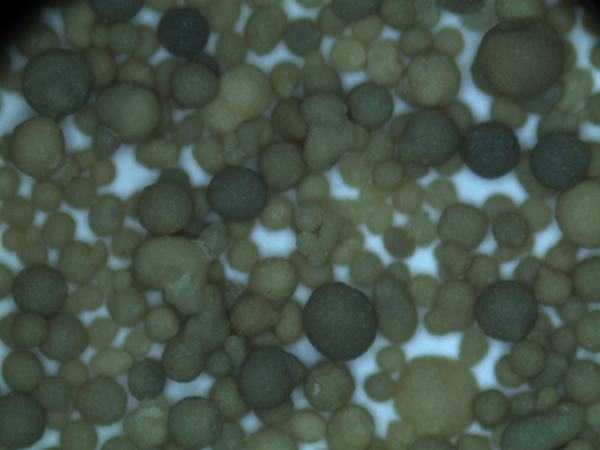
1. Epoxy Resin Kit - This typically includes both resin and hardener. 2. Sand - Choose fine sand, preferably clean and dry, for the best results. 3. Mixing Cups and Sticks - Use these for measuring and mixing your resin. 4. Mold - Silicone molds work best, as they are flexible and allow for easy demolding. 5. Gloves and Protective Gear - Ensure safety by wearing gloves and a mask to avoid inhaling fumes. 6. Colorants (Optional) - If you want to add color to your resin, consider using pigments or dyes specifically designed for resin.
Step-by-Step Process
Step 1 Prepare Your Workspace Choose a well-ventilated area to work in and cover your work surface to protect it from resin spills. Gather all your materials so they are within reach. Safety is paramount, so wear gloves and a mask.
Step 2 Measure and Mix the Resin According to the manufacturer's instructions, measure equal parts of the resin and hardener into a mixing cup. Stir thoroughly for about three to five minutes, ensuring that you mix well to avoid any uncured resin. Bubbles may form during this process, so it's a good idea to let the mixed resin sit for a few minutes to allow some of the bubbles to rise and pop.
Step 3 Add Color (Optional) If you want to add color to your resin, now is the time to do so. Use a small amount of pigment or dye and mix it in thoroughly. Remember, a little goes a long way, so add gradually until you achieve the desired shade.
how to cast sand in resin
Step 4 Pour the First Layer Pour a thin layer of mixed resin into the bottom of your mold. This layer should be enough to cover the surface and provide a base for the sand. Allow this layer to partially cure for about 15-30 minutes until it becomes tacky but is not fully hardened.
Step 5 Add Sand Sprinkle your chosen sand evenly over the tacky resin. You can create patterns or designs as you wish. Press the sand gently into the resin, ensuring it’s embedded but not submerged too deeply, as you want it to be visible.
Step 6 Pour Additional Layers After adding the sand, mix more resin and pour it over the sand layer, ensuring that it covers the sand completely. This will encapsulate the sand and give your piece depth. If you’ve created multiple layers, repeat this process as needed, allowing each layer to partially cure before adding the next.
Step 7 Curing Allow the resin to cure according to the manufacturer’s instructions, usually 24 hours at room temperature. Once fully cured, carefully demold your piece.
Final Touches
After demolding, you may want to sand the edges of your piece for a polished finish. Clean any dust or residue, and consider applying a topcoat of resin for an extra glossy look.
Conclusion
Casting sand in resin can yield stunning results that encapsulate treasured memories or artistic expressions. With proper preparation, safety measures, and attention to detail, you can create unique pieces that showcase the beauty of sand in a captivating way. Happy crafting!
Post time:Hyd . 10, 2024 09:22
Next:resin bound sand