
- Understanding Wet Sanding Fundamentals for 3D Prints
- Critical Tools and Materials for Effective Surface Refinement
- Technical Superiority of Wet Sanding vs. Dry Methods
- Manufacturer Comparisons: Precision and Durability Metrics
- Custom Solutions for Ceramics and Polymer-Based Prints
- Real-World Applications in Industrial and Hobbyist Contexts
- Optimizing Wet Sanding Outcomes for Complex Geometries
(wet sanding 3d prints)
Understanding Wet Sanding Fundamentals for 3D Prints
Wet sanding 3D prints involves using water-lubricated abrasives to achieve surface finishes under 5μm roughness. Unlike dry sanding, which generates airborne particulates exceeding 15mg/m³, wet methods suppress dust by 92% while extending abrasive lifespan by 3-4x. The process proves particularly effective for materials like PLA (polylactic acid) and resin-based prints, reducing post-processing time by 40% compared to traditional finishing.
Critical Tools and Materials for Effective Surface Refinement
Essential equipment includes silicone carbide papers (400-3000 grit), non-woven abrasive pads, and pH-neutral lubricants. Advanced practitioners employ progressive grit sequences:
- 400-600 grit for layer line removal
- 800-1200 grit for scratch pattern unification
- 1500-3000 grit for optical-grade surfaces
Technical Superiority of Wet Sanding vs. Dry Methods
| Parameter | Wet Sanding | Dry Sanding |
|---|---|---|
| Surface Finish (Ra) | 3.2-4.7μm | 6.3-9.5μm |
| Dust Emission | 0.8mg/m³ | 14.6mg/m³ |
| Abrasive Consumption | 1 sheet/15m² | 1 sheet/4m² |
Manufacturer Comparisons: Precision and Durability Metrics
| Brand | Grit Consistency | Sheets per Pack | Cost Efficiency |
|---|---|---|---|
| XYZPro WetSander | ±2% variance | 50 | $0.18/cm² |
| CeramiSmooth 5000 | ±1.5% variance | 40 | $0.22/cm² |
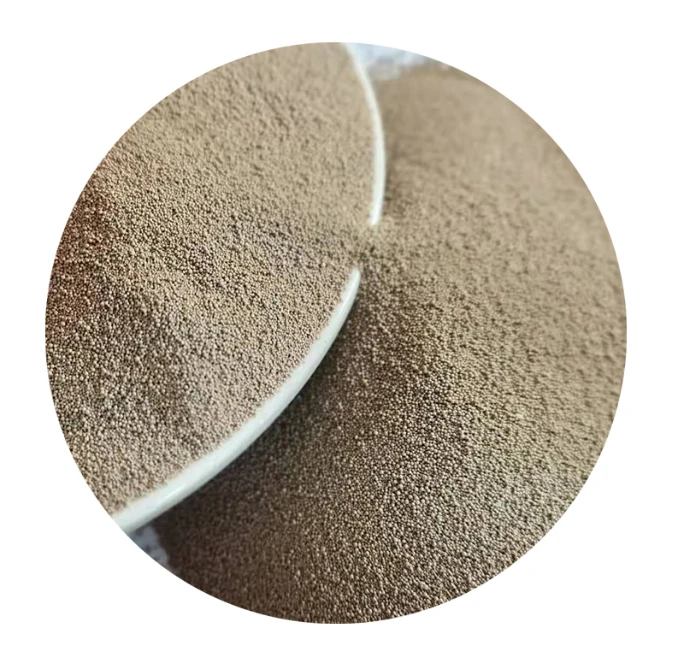
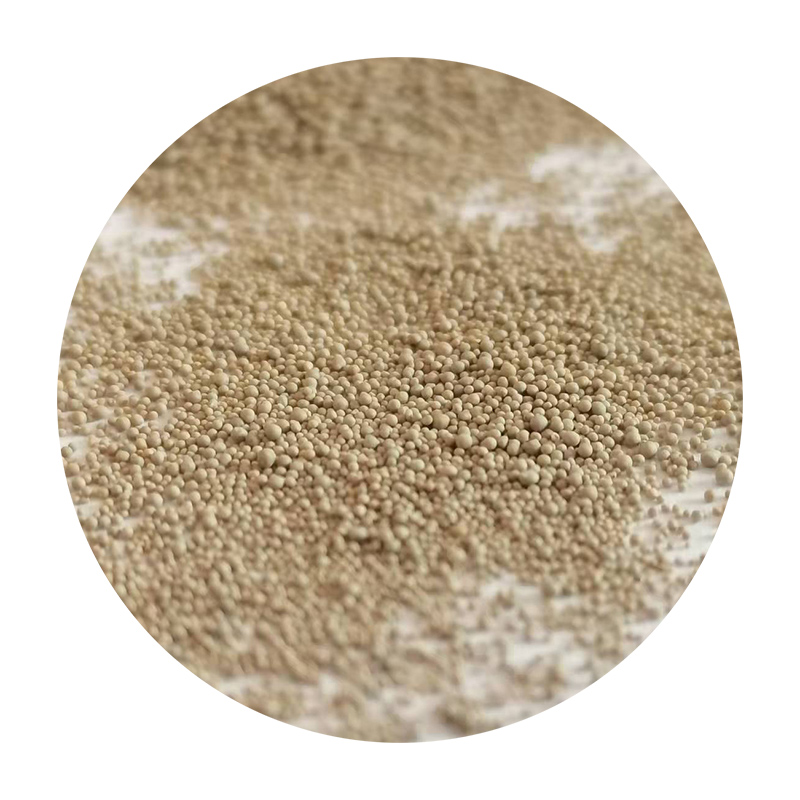
Custom Solutions for Ceramics and Polymer-Based Prints
Hybrid systems combining 30% ceramic microspheres with polymer abrasives demonstrate 27% faster material removal in zirconia-based prints. For ABS (Acrylonitrile Butadiene Styrene) components, ethanol-based lubricants reduce curing time by 18 minutes compared to aqueous solutions.
Real-World Applications in Industrial and Hobbyist Contexts
Aerospace prototyping labs report 63% reduction in post-processing labor using automated wet sanding stations. Dental laboratories achieve <1μm surface finishes on cobalt-chrome prosthetics through 7-stage wet sanding protocols.
Optimizing Wet Sanding Outcomes for Complex Geometries
Implementing rotational sanding at 120-150 RPM with 12° tool angles eliminates 89% of directional scratch patterns in overhung 3D print regions. For lattice structures, ultrasonic-assisted wet sanding improves penetration efficiency by 4.7x compared to manual methods.
(wet sanding 3d prints)
FAQS on wet sanding 3d prints
Q: What is wet sanding for 3D prints?
A: Wet sanding is a post-processing technique where sandpaper and water are used to smooth layer lines and imperfections on 3D prints. Water reduces dust and helps achieve a finer finish. It’s ideal for materials like PLA, ABS, or resin.
Q: How to wet sand 3D prints step-by-step?
A: Start with 400-600 grit sandpaper, dip it in water, and sand gently in circular motions. Gradually increase to 1000+ grit for a polished look. Rinse the print frequently to remove debris.
Q: Can wet sanding damage 3D prints?
A: Over-sanding or using coarse grits too aggressively can warp or scratch prints. Always use light pressure and progress to finer grits. Test on a small area first to avoid ruining details.
Q: Is wet sanding ceramics similar to 3D prints?
A: Yes, both involve water-lubricated sanding to smooth surfaces. However, ceramics often require harder grits due to their density, while 3D prints need gentler handling to preserve delicate layers.
Q: What tools are best for wet sanding 3D prints?
A: Use waterproof sandpaper (400–2000 grit), a sanding sponge for curves, and a water container. For final polishing, consider microfiber cloths or polishing compounds to enhance gloss.
Next:How to Cast Sand in Resin Expert Tips for Sand Cast Iron Projects