
The Art of Sanding and Polishing Resin A Comprehensive Guide
Resin crafting has gained immense popularity in recent years, thanks to its versatility and endless creative possibilities. Whether you’re making jewelry, coasters, or decorative pieces, achieving a smooth and glossy finish is crucial to elevate the aesthetic of your work. This is where the processes of sanding and polishing come into play. In this article, we will delve into the techniques and tips for effectively sanding and polishing resin.
Understanding Resin
Resin is a synthetic material that hardens to create a durable, lightweight finish. It comes in various types, such as epoxy, polyester, and polyurethane, each possessing unique properties. Regardless of the type you use, proper sanding and polishing will enhance the final product, giving it a machine-like finish that can impress anyone.
The Importance of Sanding
Sanding is the process of smoothing a surface by abrasion. For resin pieces, this is crucial to removing imperfections like bubbles, scratches, and uneven surfaces. Begin by allowing your resin to cure fully according to the manufacturer's instructions. Once cured, gather the right tools a variety of sandpaper grits, starting from coarser (around 80-120 grit) to finer (up to 2000 grit, or even higher).
1. Starting with Coarse Grit Begin sanding with a coarse grit sandpaper to remove any large imperfections. Use a sanding block to ensure even pressure; this helps avoid creating dips or waves in the surface.
2. Gradually Move to Finer Grit As you work through the grits, switch to medium (around 240-400 grit) and finish with fine paper (600 grit and above). This step is vital for eliminating scratches left by the previous grits and creating a smoother surface.
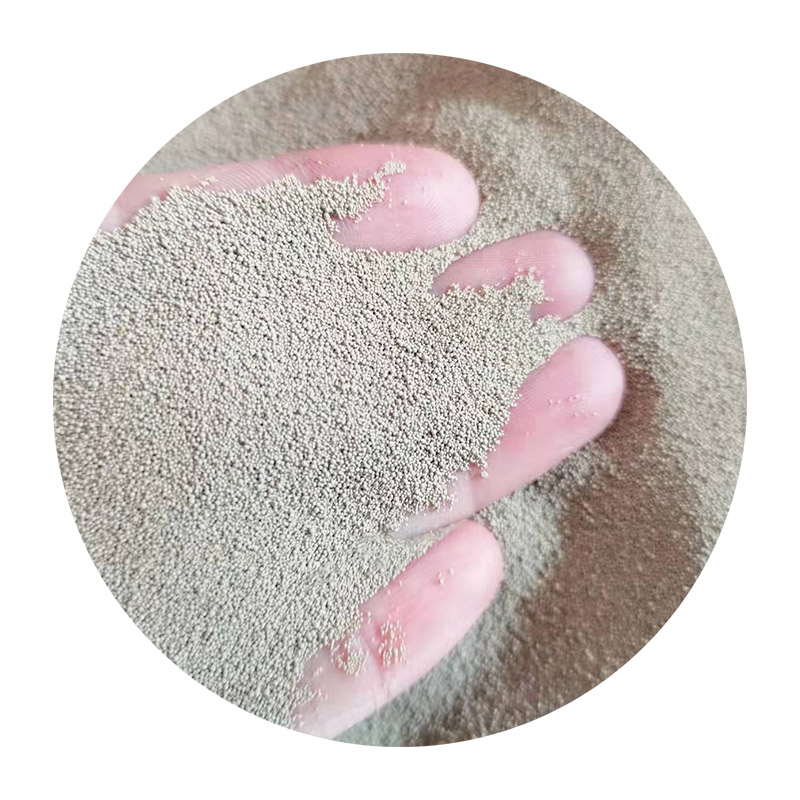
sand and polish resin
3. Keep it Wet Wet sanding—using water while sanding—can be beneficial for resin. It prevents dust accumulation and helps keep the surface cool, reducing the risk of burns. It also results in a finer finish since the consistent lubrication allows for smoother movement.
Polishing for a Glossy Finish
Once you’ve achieved a smooth surface through sanding, it’s time to polish. Polishing helps to restore the sheen and luster that may have been lost during the sanding process.
1. Use Polishing Compound A polishing compound or paste is an effective way to enhance the shine. Apply a small amount to a soft cloth or a power buffer and work it into the surface of the resin piece in a circular motion.
2. Buffing If you’re using a power buffer, make sure to apply even pressure and keep the buffer moving to avoid overheating any single spot. This will result in a uniform gloss across the entire surface.
3. Final Touches For a final touch, you can use a microfiber cloth to wipe the surface clean and remove any residue left by the polishing compound. This will reveal an incredibly shiny, smooth finish that highlights the beauty of your resin piece.
Conclusion
Sanding and polishing resin can seem daunting, but with the right techniques and tools, anyone can achieve stunning results. Patience is key; take the time to go through each step methodically to ensure the best outcome. As you refine your skills, you will find that your creations not only look professional but also reflect your unique artistic vision. Whether you’re a hobbyist or an aspiring professional, mastering the art of sanding and polishing will undoubtedly enhance your resin crafting journey.
Post time:дек. . 05, 2024 15:20
Next:Exploring the Benefits and Applications of Sand Casting in Metal Manufacturing Techniques