
How to Sand Ceramic A Step-by-Step Guide
Sanding ceramic can be an essential skill for artists, hobbyists, and DIY enthusiasts alike. Whether you’re trying to smooth out rough edges, prepare a surface for painting, or finish a piece of pottery, following the right techniques is crucial for achieving a polished look. Here’s a comprehensive guide on how to sand ceramic effectively.
Materials Needed
Before you begin, gather the following materials
- Sandpaper (grits ranging from coarse to fine) - Ceramic item to be sanded - Water (for wet sanding) - A sponge or cloth - Safety goggles and a mask (to protect from dust)
Step 1 Choose the Right Sandpaper
When it comes to sanding ceramic, the choice of sandpaper is important. Start with a coarse grit paper, like 60 to 80 grit, to tackle more prominent imperfections. For smoother surfaces, gradually move to finer grits, such as 120, 220, and even up to 400 grit for the final finish. Using the right grit is key; starting too fine may not effectively remove rough areas.
Step 2 Prepare the Workspace
Ensure your workspace is clean and clutter-free. It’s best to work in a well-ventilated area, especially if you are dry sanding, as the dust can be hazardous to inhale. If possible, use a mask and goggles to protect yourself from dust particles.
Step 3 Start Sanding
how to sand ceramic
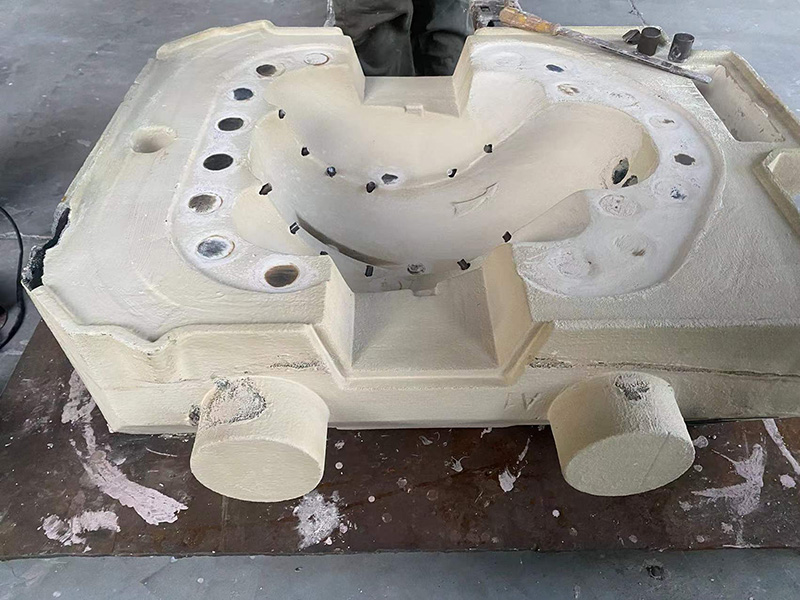
Begin with the coarse grit sandpaper. Hold the sandpaper or sanding block firmly and start rubbing it over the area of the ceramic piece requiring smoothing. Use a circular or back-and-forth motion, applying even pressure. It’s essential not to rush; take your time to ensure even sanding. Regularly check the surface to monitor your progress.
Step 4 Wet Sanding
For finer finishes or when dealing with delicate ceramic pieces, wet sanding can be beneficial. Dampen the sandpaper with water to reduce the likelihood of dust and to minimize scratches on the surface. This technique also keeps the sandpaper from wearing out too quickly and helps achieve a smoother finish.
Step 5 Clean the Surface
After sanding, wipe down the ceramic item with a damp sponge or cloth to remove any dust or debris. This step is vital as it allows you to see any remaining imperfections clearly. If necessary, repeat the sanding process with a finer grit sandpaper.
Step 6 Final Touches
Once satisfied with the smoothness, clean the ceramic piece thoroughly. Depending on your project, you can now proceed to paint, glaze, or use it as is. The result should be a beautifully finished ceramic item, ready for its next stage.
Conclusion
Sanding ceramic is an art that enhances the beauty and functionality of your pieces. By following these steps and using the right materials, you can achieve a professional finish that highlights your craftsmanship. Happy sanding!
Post time:ጥቅም . 15, 2024 17:48
Next:sand casting ideas