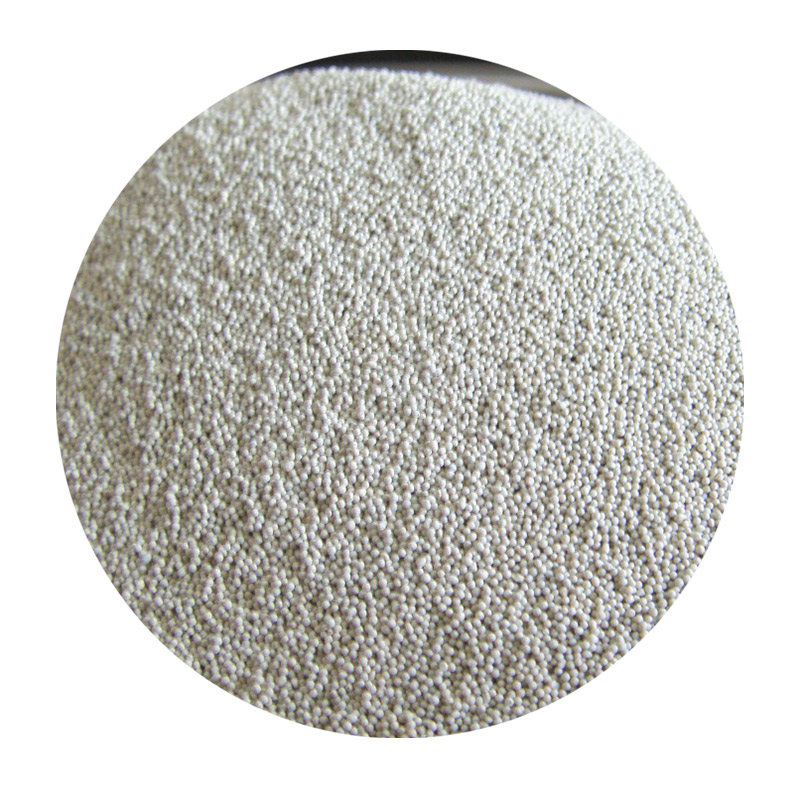
How to Cast Sand in Resin A Step-by-Step Guide
Casting sand in resin is an exciting technique that merges the organic textures of sand with the glossy finish of resin. This method allows artists and hobbyists to create stunning decorative pieces, functional items, and unique artworks. Whether you are a seasoned resin artist or a beginner looking to explore new materials, this guide will help you navigate the process of casting sand in resin.
Materials You Will Need
1. Epoxy Resin Choose a high-quality, clear epoxy resin that cures well and is suitable for casting. 2. Sand You can use colored sand, beach sand, or any fine sand of your choice. The color and texture will significantly affect the final outcome. 3. Mixing Cups Disposable cups for measuring and mixing the resin. 4. Stir Sticks Wooden or plastic sticks for mixing. 5. Protective Gear Gloves, a mask, and goggles to protect yourself from resin fumes and spills. 6. Mold Silicone molds work best as they allow for easy demolding of your final product. 7. Heat Gun or Torch To eliminate bubbles in the resin.
Step-by-Step Process
1. Prepare Your Workspace Start by selecting a clean, well-ventilated area to work in. Cover your workspace with plastic or newspaper to catch any spills. Wear your protective gear to ensure your safety.
2. Measure Your Resin Following the manufacturer's instructions, measure equal parts of resin and hardener in your mixing cup. The ratio is typically 11, but always check the specific instructions for the brand you are using.
3. Mix the Resin Use a stir stick to mix the resin and hardener thoroughly. Stir slowly to minimize bubble formation, scraping the sides and bottom of the cup to ensure everything is well combined. Mix for the recommended time, usually around 3-5 minutes.
4. Add Color (Optional) If you want to enhance the visual appeal, consider adding resin-compatible colorants or pigments to your mixture. This can create beautiful, vibrant effects when combined with the sand.
how to cast sand in resin

5. Layering with Sand Pour a small amount of resin into your mold, just enough to cover the bottom. Then, sprinkle your chosen sand over the resin layer. This not only helps to hold the sand in place but also allows for a smooth finish once cured.
6. Repeat the Process Continue to alternate between layers of resin and sand. For a more interesting texture, you can mix a small amount of sand into each layer of resin before pouring. Just remember to leave enough space for the final layer of resin to cover everything completely.
7. Remove Air Bubbles After pouring each layer, use a heat gun or a torch to gently pass over the surface. The heat helps release any trapped air bubbles, creating a clear, flawless finish.
8. Cure the Resin Allow the layers to cure as per the resin manufacturer’s instructions. This usually takes 24 to 48 hours. Be patient, as rushing this step can lead to imperfections.
9. Demold Your Creation Once fully cured, carefully remove your piece from the mold. If the mold is silicone, it should release easily. If you encounter resistance, gently flex the mold to ease it out.
10. Finish the Edges If necessary, use sandpaper to smooth any rough edges. You may also polish the surface to enhance its shine.
Conclusion
Casting sand in resin is a straightforward yet rewarding process that opens up a world of creative possibilities. With a bit of practice and experimentation, you can create beautiful artworks and functional pieces that showcase the unique combination of sand and resin. Remember to always prioritize safety when working with resin, and enjoy the journey of bringing your artistic visions to life!
Post time:ኅዳር . 20, 2024 18:30
Next:how to sand ceramic
